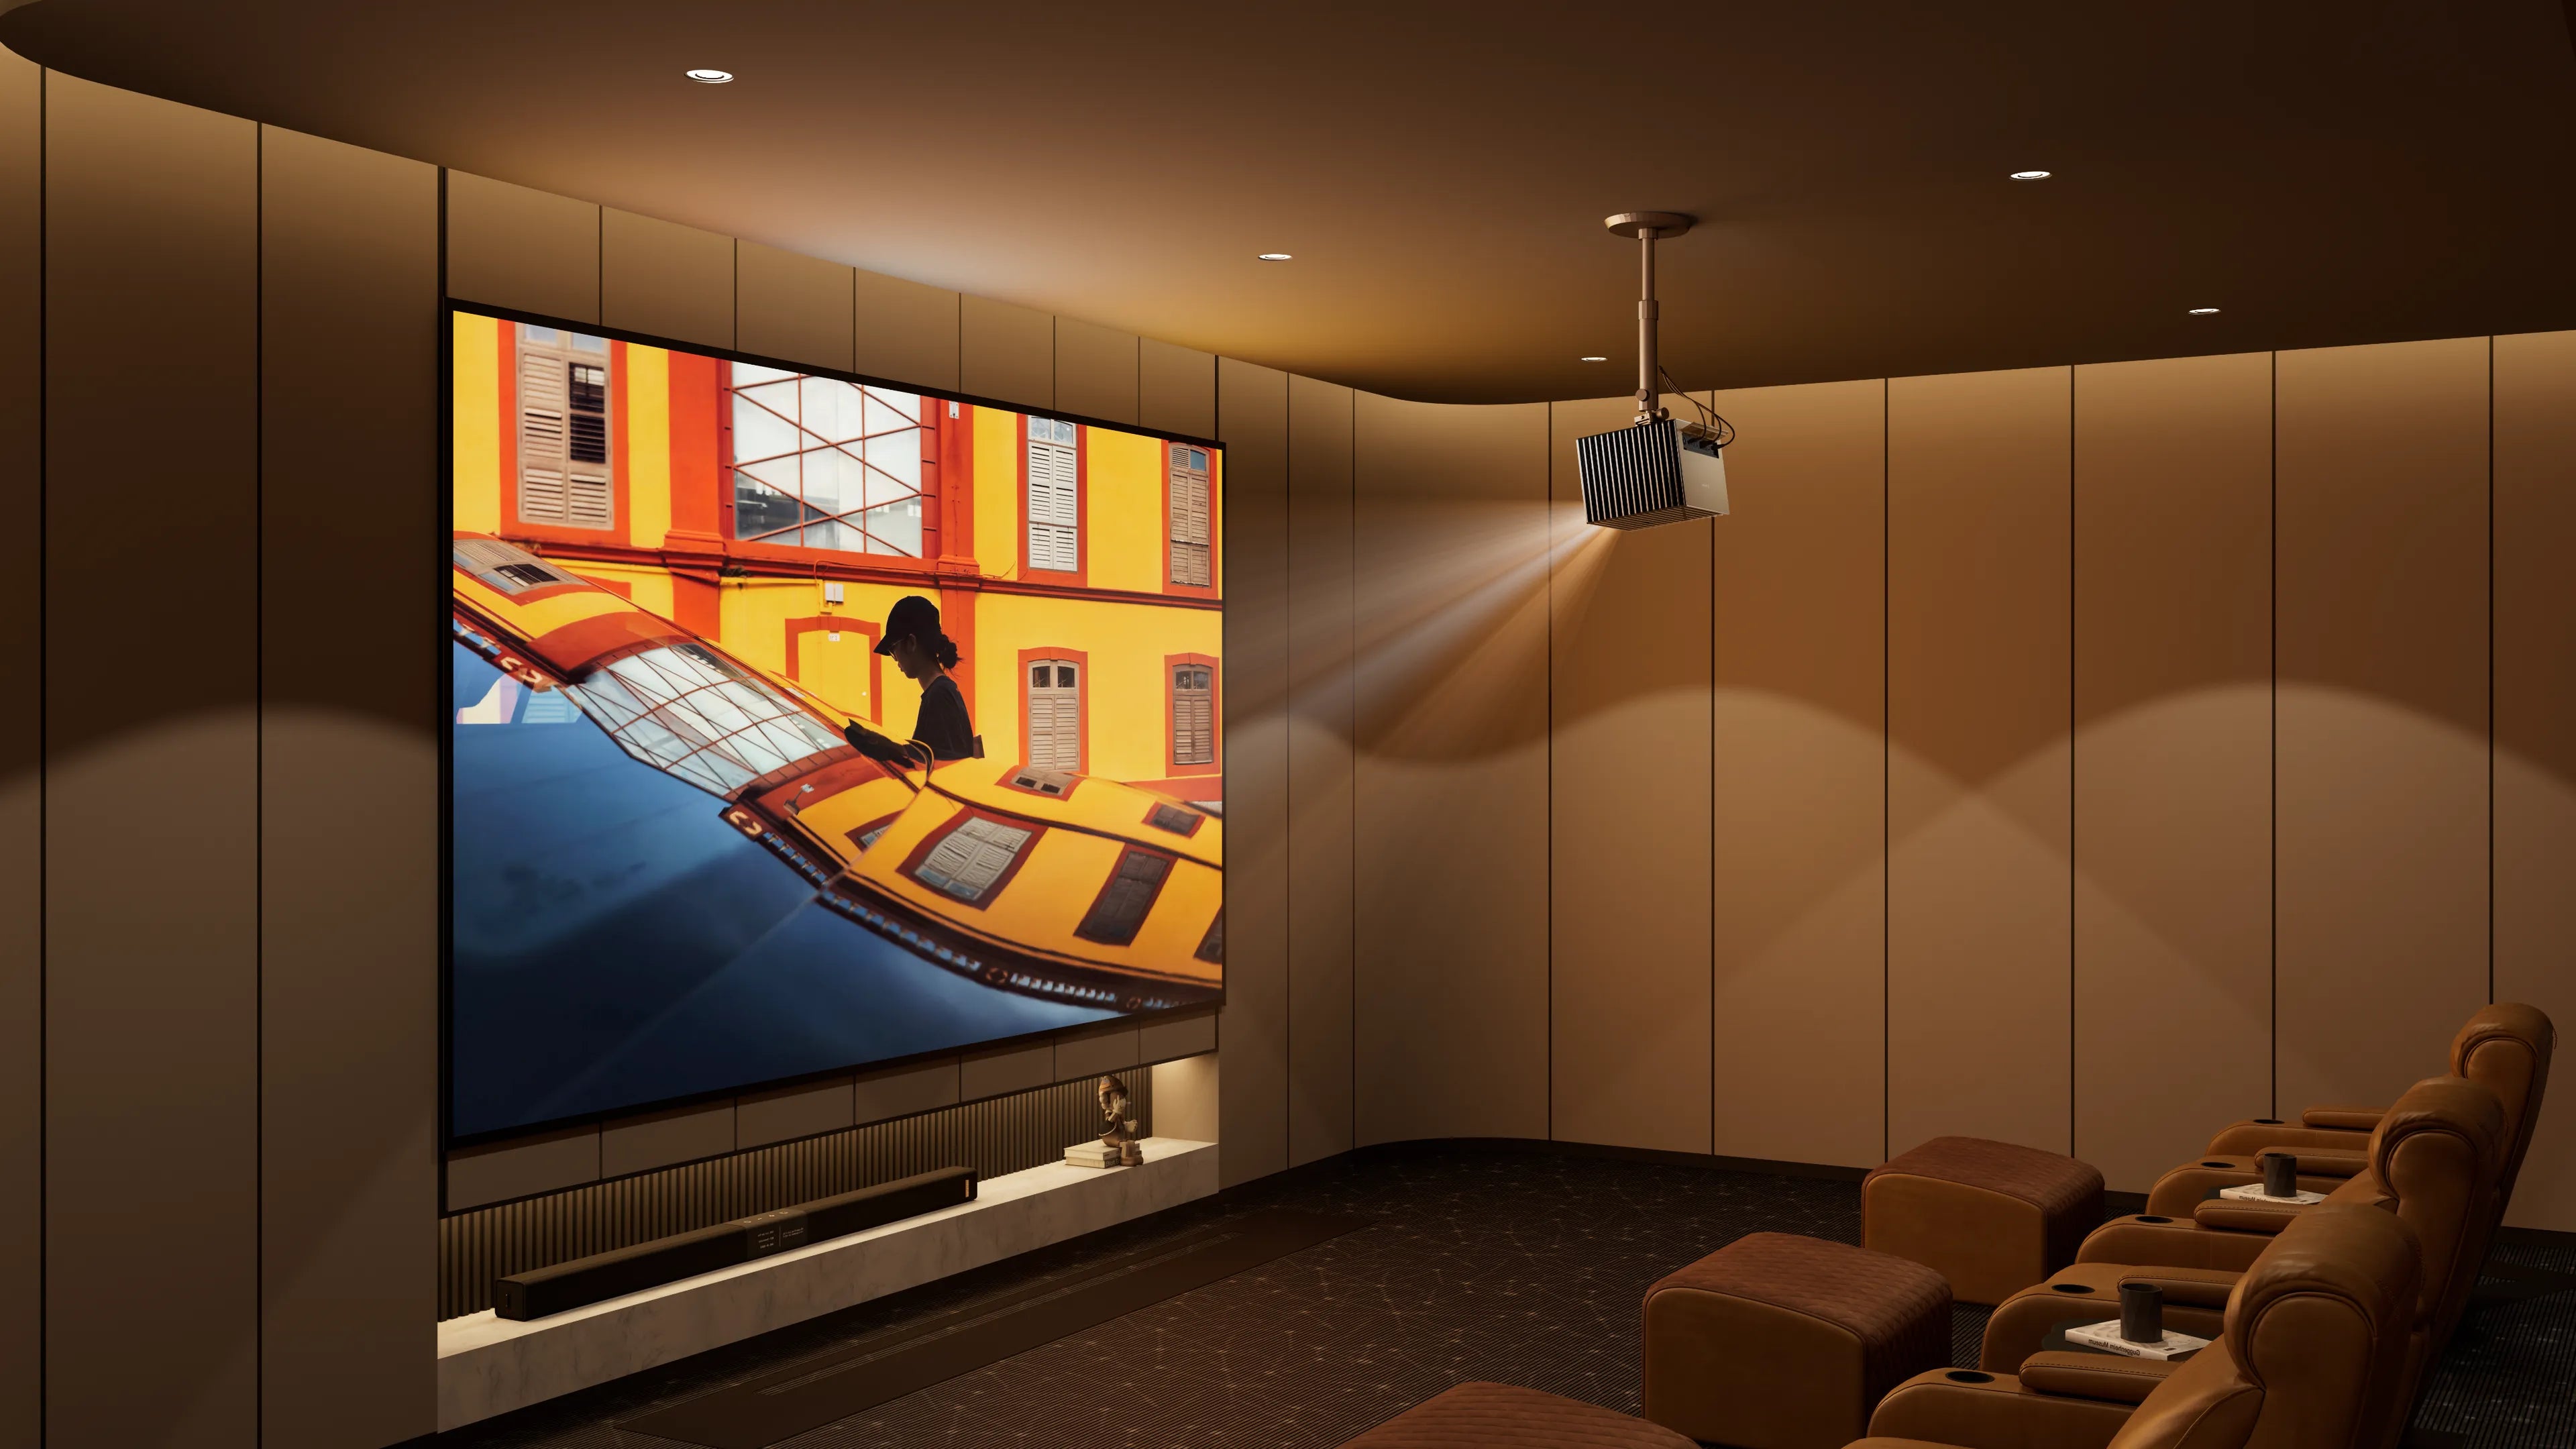
If you want to have a cinematic experience, mount your projector to the ceiling. A ceiling-mounted projector not only turns your room into a home theater but also saves considerable space. More than that, it looks professional and ensures optimal projection. So, if you want to learn how to mount a projector to the ceiling, this guide is for you. We will cover the step-by-step instructions, the tools needed, and the best mounts for the projector. Keep reading to learn how!
Why Mount a Projector on the Ceiling?
It's advantageous to mount the projector to the ceiling. It limits clutter with an overall neatness to the room. If a projector is mounted, the angle of viewing is much better, plus its safety is ensured by placing it up in the air, preventing accidental trips over it when it is on the floor. A projector really gives a cinema experience while hanging from the ceiling.
Tools and Materials You’ll Need
- Projector ceiling mount
- Stud finder
- Drill
- Screws
- Level
- Ladder
- Toggle bolts
- Cable management
Step-by-Step Guide to Mounting a Projector to the Ceiling
Ready to mount the projector? Follow the projector ceiling installation steps below:
Choose the Location:
You should know where to install the projector, taking into account its throw distance. For detailed information about the recommended throw distance, it is best to consult the projector's manual. In general, short-throw projectors require a distance of 1-4 feet, standard-throw projectors typically need 5-10 feet, and long-throw projectors may require 10 feet or more.
In general, short-throw projectors require a distance of 1-4 feet. You must ensure that the ceiling is structurally robust. Place the mount near the stud or a joist.
Find Ceiling Joists:
Utilize a stud finder to inspect the ceiling to ensure a secure mounting surface. If there is no support with a joist, use rated drywall anchors for the weight of your ceiling projector.
Check Compatibility:
Check that the projector ceiling mount can withstand the weight of your projector. Most short-throw projectors use universal mounts with adjustable arms.
Mark and Drill Holes:
Attach the projector mounting plate to the projector (follow the mount instructions). Hold the mount against the ceiling, mark the screw holes, and use a level to ensure alignment. Drill pilot holes into the joists or insert drywall anchors if needed.
Install the Ceiling Mount:
Prepare the DIY projector ceiling mount for installation by using lag screws (for joists) or toggle bolts (for drywall). Tighten it.
Attach the Projector:
Secure the ceiling projector to the mount's bracket, following the mount's instructions. Check all screws and connections.
Adjust the Projector:
Power on the projector and adjust its position (tilt, angle) to align the image with your screen. Use the projector’s keystone correction or lens shift if available.
Manage Cables:
Run power and HDMI cables along the ceiling or through cable management channels for a clean look. Consider in-ceiling cable routing if possible.
Test and Finalize:
Test the projection for clarity and alignment. Tighten all mount adjustments and ensure the projector is stable.
Follow these projector mounting tips when mounting projectors so that you can maximize your experience:
- Safety: Verify both the ceiling and the mount's bearing strength; they should be capable of bearing the weight of the projector, since short-throw projectors are known to be heavier because of the special lens they employ.
- Ventilation: Ensure that enough clearance for airflow into the projector against overheating exists.
- Professional Help: If one has any uncertainty whatsoever regarding the strength of the ceiling or electrical wiring, for that matter, they ought to call an electrician.
- Tools: Use a stud finder and level for precision.
Common Mistakes to Avoid
Here are some mistakes that all individuals commit when they set up their projectors on the ceiling. You have got to be cautious about the above-mentioned for improving the overall experience.
- Poor Alignment: If the projector is misaligned, it won’t project at the right angle. The adjustable horizontal and vertical alignment on the projector ceiling mount has to be centered with the image. Should the projector have any lens-shift or keystone correction, utilize these settings to fine-tune image alignment without adjusting the projector mount.
- Ignoring Ceiling Strength: You cannot just mount your projector anywhere on the ceiling. You need to check if the ceiling can bear your projector’s weight. Choose a sturdy ceiling and a location close to joists or studs.
- Poor Ventilation: Ensure your projector is placed in adequately ventilated areas. The overheating or shutdown may be due to poor ventilation or being too close to the ceiling. Shorten the height and make regular clean-ups to remove dust and dirt obstructing airflow.
- Misaligned Screws: Confirm that you have made the screws tight on the mount, ensuring that the projector will not fall.
- Poor Brightness: In case the projection is too bright, blackout curtains on the windows should help you cut off the ambient brightness.
- Blurry Image: If the projected image is out of focus, the issue could be with the projector’s lens. Clean the lens and ensure it’s dust-free. If the issue persists, it could be due to the wrong throw distance. Adjust its position, as placing it too close or too far affects focus.
Conclusion
Want to enjoy a cinematic experience? Mount your projector on the ceiling. It is achievable with the right steps and tools. Make sure to follow all the steps and tips properly to truly immerse yourself in the experience.
Ready to mount your projector? Check out our best ceiling mount for projector or share your setup tips in the comments!


