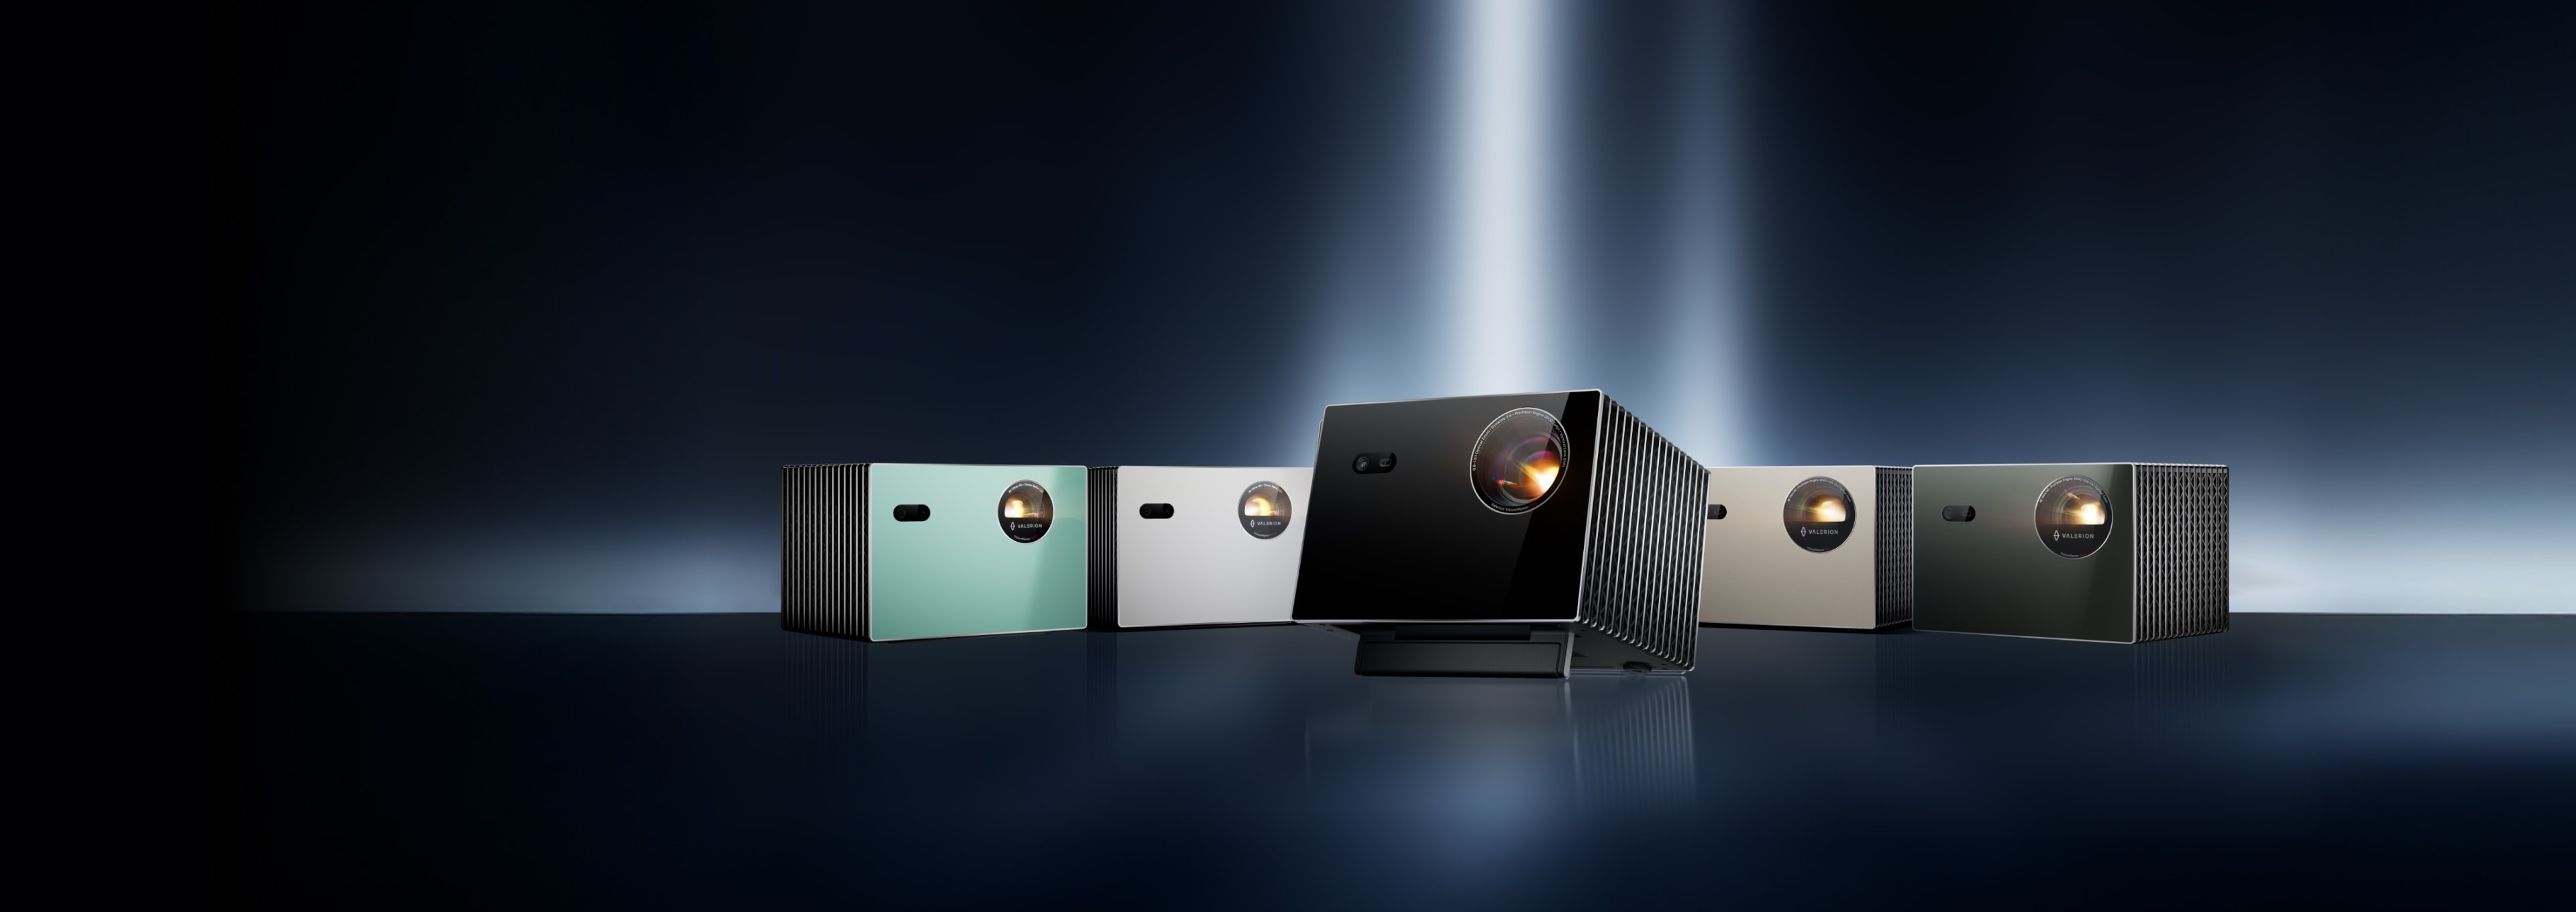
You've invested in a premium home cinema experience, bringing the cinematic standard right into your living room with the Valerion VisionMaster. But upon first setup, you encounter a frustrating optical challenge: your beautifully projected image isn't a clean rectangle; it’s skewed, looking more like a crooked trapezoid.
This common phenomenon is known as the Keystone Effect, and it can instantly ruin immersion. Fortunately, the solution—keystone correction—is built right into your projector. This feature intelligently takes that distorted image and snaps it back into a perfect square, even if the projector is sitting at a challenging angle.
This comprehensive guide will define exactly what a keystone is on a projector, detail its geometric causes, and walk you through using the advanced auto and manual keystone correction features, as well as the superior Lens Shift function, available on your Valerion VisionMaster to guarantee a flawless viewing experience.
What is Keystone on a Projector?
The term keystone on a projector refers to an image distortion that happens whenever the projected light beam hits the screen at an angle rather than perfectly perpendicular (straight-on).
Definition: The Keystone Effect is a visual distortion that transforms the intended rectangular image into a trapezoid shape. The name is borrowed from architecture, specifically the keystone, the wedge-shaped stone at the apex of a masonry arch.
Understanding the Forms and Causes of Keystone Distortion
This is not a defect of your projector; it is a fundamental consequence of optics. The distortion occurs because the light rays forming the image’s four corners travel different distances to reach the screen.
- Vertical Keystone Distortion: This is the most common form. It appears when a projector is mounted too high (pointing down) or placed on a table and tilted upward (pointing up).
- Example: A projector on a table pointed upward causes the light hitting the top edge to travel a longer path than the light hitting the bottom edge. Since light expands over distance, the upper portion of the image looks wider than the bottom, creating a vertical trapezoid.
- Horizontal Keystone Distortion: This version shows up when the projector sits significantly off-center—to the left or right of the screen's center—a common scenario in side-projection setups.
This optical issue presents a dual challenge: first, the geometric distortion, and second, maintaining sharpness, as the projector's lens is designed to create only one flat plane of sharp focus.
Optical vs. Digital: How Projectors Correct Skew
Modern projectors employ one of two primary methods to counter the projector keystone effect, each with significant implications for final image quality.
Optical Keystone Correction (The Premium Solution)
- Mechanism: This method physically adjusts the position of the lens assembly or internal optical elements to redirect the light beam without altering the digital image signal.
- Advantage: Because the light path is manipulated physically, this method preserves 100% of the image's native resolution and quality.
- Limitation: It is a complex, hardware-intensive solution, often only found in high-end, large, or professional projectors. The correction range is typically limited.
Digital Keystone Correction (The Flexible Solution)
- Mechanism: This is a software-based process that uses interpolation algorithms to "pre-warp" the image. The projector compresses the pixels on the wider side of the trapezoid to create an inversely distorted image. When this "pre-warped" image is projected at the angle, it appears perfectly rectangular to the viewer.
- Advantage: Offers incredible setup flexibility and a wide correction range (often degrees or more).
- Limitation: As detailed below, this method compromises image quality.
Mastering Keystone Correction on Your Valerion VisionMaster
The Valerion VisionMaster provides you with the most advanced tools to achieve screen perfection. The best strategy is to use these tools in order, always prioritizing the method that preserves the most detail.
1. Best Practice: Physical Alignment
- Goal: Before touching any digital settings, ensure the projector is placed at a right angle to the screen.
- Method: Use the Adjustable Bottom Support (screw feet) on the bottom of your VisionMaster to fine-tune the tilt. Even a small physical correction minimizes the need for drastic digital manipulation.
2. The Premium Solution: Lens Shift (VisionMaster Max Model Only)
- Function: On models featuring this technology (like the VisionMaster Max), Lens Shift allows you to physically move the image up, down, by shifting the lens assembly without tilting the projector.
- Advantage: This is superior to digital correction because it maintains resolution and clarity. Use Lens Shift to fix off-center placement (too high/low/left/right) without introducing distortion.
3. The Smart Solution: Automatic Keystone Correction (with ToF)
- Function: All Valerion VisionMaster models include intelligent Automatic Keystone Correction. These systems often use ToF (Time-of-Flight) technology to measure the distance to the screen quickly and accurately, allowing the projector to self-adjust the image instantly whenever the device shifts position.
- Menu Path (As per User Manual):
- Go to [Settings].
- Navigate to [Projector].
- Select [Auto Keystone Correction].
4. For Precision: Manual Keystone Correction
- Function: For fine-tuning complex corner distortions or manually adjusting the keystoning meaning into a precise square.
- Menu Path (As per User Manual):
- Go to [Settings].
- Navigate to [Projector].
- Select [Manual Keystone Correction].
- Process Detail: Access the four-point correction grid. Use the remote's D-pad to individually adjust the corners/sides. To ensure the proper aspect ratio is preserved, adjust until the center circle on the grid becomes a perfect circle.
The Truth About Digital Keystone: Image Quality Trade-Offs
While digital correction provides unmatched flexibility, it is essential to understand why excessive use degrades your premium image quality.
Loss of Resolution and Brightness
- Mechanism: Digital correction requires pixel remapping and non-proportional scaling. The system must compress pixels on the wider side of the trapezoid to fit the screen.
- Result: The final, corrected image uses only a fraction of the projector's total native pixels. This leads to:
- Lower Effective Resolution: The image uses fewer pixels, resulting in less clarity and visible softness or blurring, especially with large-screen projections.
- Reduced Brightness: The light associated with the unused pixels is essentially wasted, slightly reducing the overall brightness of the corrected image.
The Gray Border Effect
- The Symptom: When using digital correction, especially in a dark room, you might notice a faint, shadow-like "gray border" around the corrected rectangular image.
- The Cause: This border appears because unused pixels still emit light. For DLP projectors (like the VisionMaster), this light comes from the inactive areas of the Digital Micromirror Device (DMD). The system is projecting a rectangular image inside the chip's illuminated trapezoidal area, and the parts outside the rectangle are still lit, creating the visible fringe.
Conclusion: The Golden Rules for Projector Setup
Keystone correction is a brilliant, necessary feature that makes projector installation possible in almost any room. However, true home cinema purists understand the convenience comes at the cost of pixel integrity.
To get the most out of your Valerion VisionMaster’s stunning image quality, remember these golden rules:
- Placement First: Always prioritize physical alignment to ensure the projector is square to the screen.
- Use Lens Shift: If your model supports it, use Lens Shift to move the image before resorting to digital correction.
- Digital Last: Only use Auto or Manual Keystone Correction when physical adjustments are impossible. Use the minimum amount necessary to square the image.
By adhering to these basics, you can master your setup and achieve the Hollywood Standard of viewing, leveraging the flexibility of the projector keystone feature while maintaining maximum image sharpness.


