Beamer Linse Reinigen: Ihr Weg zu klaren Bildern
December 19, 2025
Eine verschmutzte Beamer-Linse beeinträchtigt das Seherlebnis erheblich – durch verzerrte Bilder, unscharfe Konturen und insgesamt schlechte Bildqualität. Wer seine Beamer-Linse reinigen möchte, muss dabei stets zwei Aspekte im Blick behalten: Sicherheit und Wirksamkeit. Falsche Reinigungsmethoden können dauerhafte Schäden verursachen, die sich nicht mehr rückgängig machen lassen.
Staub, Fingerabdrücke und Schmierflecken trüben nicht nur die Projektionsqualität, sondern verkürzen auf Dauer auch die Lebensdauer Ihres Beamers. Doch Vorsicht: Nicht jedes Reinigungsmittel ist geeignet. Alkoholhaltige Produkte etwa schaden der empfindlichen Beschichtung der Linse – sie verschlechtern den Zustand statt ihn zu verbessern.
Regelmäßiges Beamer-Reinigen beugt Staubansammlungen vor und erhält so über Jahre hinweg eine klare, scharfe Projektion. In diesem Leitfaden zeigen wir Ihnen Schritt für Schritt, wie Sie Ihre Beamer-Linse fachgerecht und risikofrei reinigen – von der richtigen Ausrüstung bis hin zu bewährten Techniken für äußere Verschmutzungen und feinen Staub in den inneren Linsenkomponenten.
Notwendige Werkzeuge und Sicherheitsvorbereitung
Bevor Sie mit dem eigentlichen „Beamer-Linse-reinigen“ beginnen, sollten Sie die richtigen Hilfsmittel bereitlegen. Herkömmliche Haushaltsreiniger, Papiertücher oder alkoholische Lösungen sind tabu – sie enthalten Chemikalien oder raue Fasern, die die optische Oberfläche zerkratzen oder die Schutzschicht beschädigen können.
Folgende Spezialausrüstung empfehlen Experten:
- Mikrofasertuch: Wählen Sie ein fusselfreies, nicht scheuerndes Tuch, das speziell für optische Oberflächen entwickelt wurde.
- Linsenreiniger: Nutzen Sie ausschließlich Flüssigkeiten, die explizit für optische Linsen konzipiert sind. Vermeiden Sie strikt alkoholbasierte Reiniger.
- Linsenpinsel: Weiche Borsten aus Naturhaar oder synthetischen Spezialfasern lösen Staub sanft ohne Druck.
- Manueller Blasebalg oder Druckluftdose: Entfernt lose Partikel kontaktlos – ideal als erster Schritt.
- Linsenreinigungspapier: Eine hervorragende Alternative zum Mikrofasertuch, hinterlässt keine Rückstände und minimiert Kratzrisiken.
Sicherheit geht vor: Schalten Sie den Beamer vollständig aus und ziehen Sie den Netzstecker. Warten Sie anschließend 20–30 Minuten, bis das Gerät vollständig abgekühlt ist. Eine heiße Linse kann nicht nur Verbrennungen verursachen, sondern auch bei Berührung irreversibel beschädigt werden.
Arbeiten Sie zudem in einer sauberen, gut ausgeleuchteten Umgebung mit möglichst geringer Staubbelastung. Ein Objektivdeckel (sofern vorhanden) sollte nach jeder Nutzung aufgesetzt werden – so reduzieren Sie den Reinigungsaufwand langfristig erheblich.
Schritt-für-Schritt-Anleitung: So reinigen Sie Ihre Beamer-Linse richtig
- Voruntersuchung: Prüfen Sie die Linse unter gutem Licht auf sichtbare Verschmutzungen – dies hilft, die passende Reinigungsstrategie zu wählen.
- Ausschalten & Abkühlen: Trennen Sie den Beamer vom Strom und warten Sie mindestens 20–30 Minuten.
- Staub entfernen: Halten Sie den Beamer senkrecht und blasen Sie mit einem manuellen Blasebalg lose Partikel vorsichtig weg.
- Feinreinigung: Verwenden Sie danach einen weichen Linsenpinsel mit sanften Strichen für verbliebene Staubkörner.
- Flüssigkeitsreinigung: Befeuchten Sie ein Mikrofasertuch leicht mit Linsenreiniger – niemals direkt auf die Linse sprühen!
- Abwischen: Wischen Sie in kreisenden Bewegungen von der Mitte zur Außenkante. Dies verteilt den Druck gleichmäßig und minimiert Kratzgefahr.
- Hartnäckige Flecken: Bei starken Schmierflecken können Sie das Tuch etwas mehr befeuchten oder spezielle Linsenreinigungstücher bzw. Wattestäbchen (linsengeeignet!) gezielt einsetzen.
- Trocknen lassen: Lassen Sie die Linse an der Luft trocknen. Prüfen Sie anschließend erneut auf Streifen oder Rückstände – diese lassen sich mit einem trockenen Bereich des Mikrofasertuchs sanft entfernen.
Wichtig: Üben Sie niemals zu viel Druck aus. Die Beschichtung moderner Projektoren ist extrem empfindlich. Und vergessen Sie nicht, nach der Reinigung den Objektivdeckel wieder aufzusetzen – so bleibt Ihre Beamer-Linse länger sauber.
Häufige Fehler beim Beamer-Reinigen – und wie Sie sie vermeiden
Gute Absichten reichen nicht aus: Viele Nutzer beschädigen ihre Beamer unwissentlich durch typische Reinigungsfehler.
- Zu viel Druck: Selbst leichter Druck kann die Linse verkratzen oder ihre Justierung beeinträchtigen.
- Haushaltsreiniger: Glasreiniger, Alkohol, Benzol oder Verdünner enthalten aggressive Chemikalien, die die Antireflex- oder Schutzbeschichtung auflösen.
- Direktes Aufsprühen: Flüssigkeit kann in das Innere des Projektors eindringen und elektronische Komponenten beschädigen. Immer zuerst auf das Tuch auftragen!
- Ungeeignete Materialien: Papiertücher, Wattepads oder Baumwoll-T-Shirts wirken weich, hinterlassen aber mikroskopisch kleine Kratzer.
- Reinigung bei Hitze: Ein noch warmer Beamer birgt Brand- und Beschädigungsrisiken. Mindestens 30 Minuten Abkühlzeit einhalten!
- Druckluftdosen: Diese enthalten oft Treibgase, die Rückstände auf der Linse hinterlassen. Falls unbedingt nötig: Nur bei geschlossenem Gehäuse und mit minimalem Druck verwenden.
- Berührung mit bloßen Händen: Hautöle haften stark und sind schwer zu entfernen. Tragen Sie bei direktem Kontakt Handschuhe.
- Überreinigung: Je häufiger Sie reinigen, desto höher das Risiko von Mikrokratzern. Reinigen Sie nur dann, wenn die Bildqualität tatsächlich leidet – einzelne Staubpartikel beeinträchtigen meist kaum die Projektion.
Ein Objektivdeckel ist hier Ihr bester Verbündeter: Er schützt effektiv vor Staub und reduziert den Reinigungsaufwand deutlich.
Fazit: Präzision statt Schnellschuss
Die regelmäßige, schonende Pflege Ihrer Beamer-Linse ist entscheidend für brillante Bilder und eine lange Gerätelebensdauer. Mit fusselfreien Mikrofasertüchern, speziellem Linsenreiniger und einer sanften, kreisenden Wischtechnik entfernen Sie Schmutz effektiv – ohne die empfindliche Optik zu gefährden.
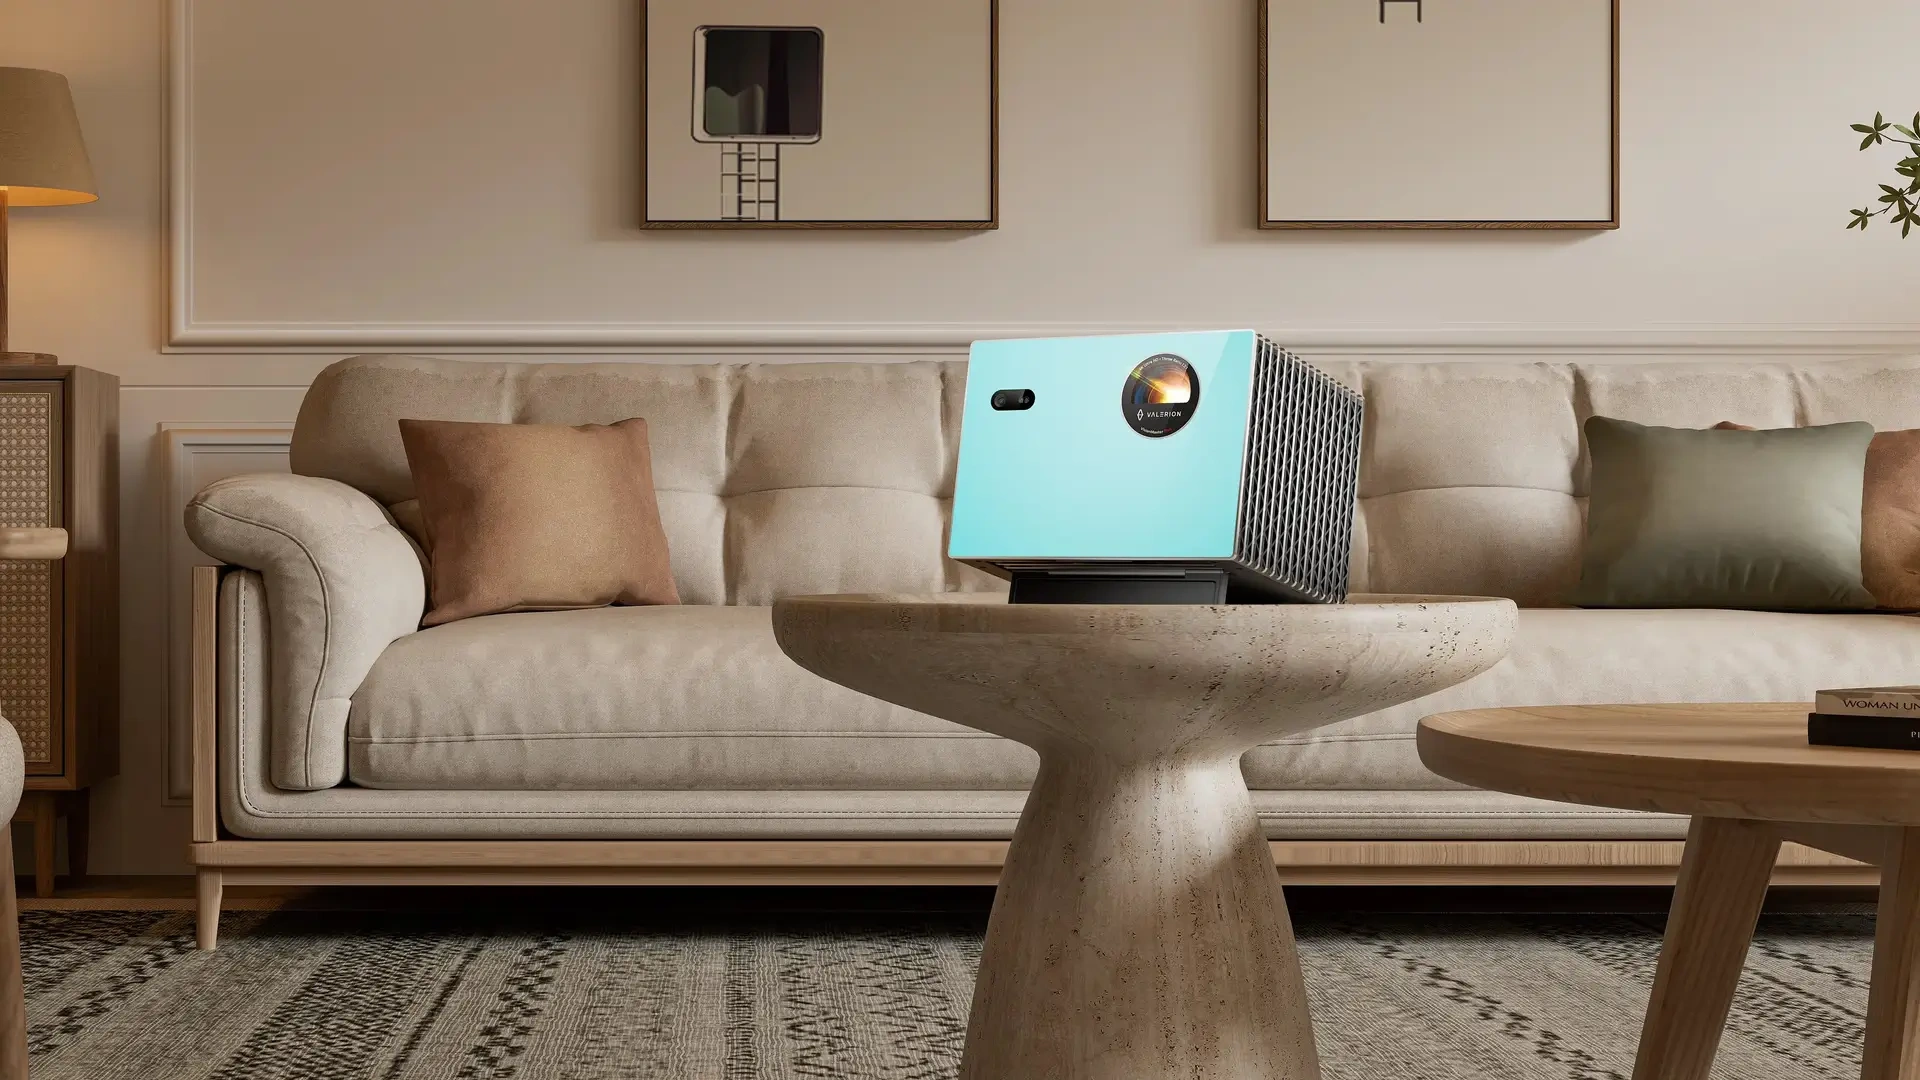
Gerade hochauflösende Modelle wie die VisionMaster Pro 2 aus der VisionMaster-Serie von Valerion setzen auf makellose Linsen, um ihre beeindruckende 4K-Auflösung und hohe Helligkeit (3000 ISO-Lumen) optimal zur Geltung zu bringen. Kombiniert mit einem ALR-Bildschirm für helle Räume und einem geschlossenen Objektiv bei Nichtgebrauch, bleibt Ihr Heimkino- oder Gaming-Erlebnis jahrelang scharf und immersiv.
Denn am Ende zählt: Ein sauberer Beamer ist nicht nur ein gepflegtes Gerät – er ist die Garantie für klares, lebendiges Bild – heute und morgen.
Weitere Einblicke entdecken