Have you ever had an embarrassing moment when you were with your family or friends, or in the office giving a presentation, just because of a projector? Your projector might be giving out washed colors or a lack of details. You don’t want to embarrass yourself; this is why you need to know how to increase the clarity of the projector. And by following the given steps, you will get a bright screen light from the projector.
What happens if you don’t? You will get blurriness, pixelation, or a lack of details in the image. And this will make you look bad in front of others, especially your friends, family, colleagues, and clients.
Here are things that will help you increase the clarity of the projector for stunning visuals
Understanding Projector Clarity
The thing that has made the day and night difference is finding out what my projector really is. Initially, I didn't understand it, which led me into a bad deal. What I want you to remember are only five bare essentials when you are in the market looking for a projector: resolution, lens type and quality, projector brightness, and contrast. This makes colors look great because black doesn't appear grey, unlike in poor projectors. And you get a less bright screen light.
If your projector is malfunctioning or one of the essential components is faulty, you'll experience blurriness in your image or movie quality. In severe cases, you may not be able to see pixelations, dark spots, or washed-out colors. These are all signs of bad projector clarity, and you need to increase the clarity of the projector. Even if you have a bright screen light projector, you will see a less bright image. All these result in ruining your good family time or your defining moment in a presentation at the office. This is why you want to increase the clarity of the projector.
Practical Tips to Improve Your Projector Clarity
Here are things that will help to increase the clarity of the projector and get proper projector clarity:
Tip 1. Adjust the focus properly
If your projector cannot focus, you will experience issues with clarity and image/video quality. To make your projector focus better, use the focus ring on the projector. You will see on the side of the projector which side to rotate the focus ring to get the projector to focus. Check whether you are getting the same image quality as you are getting in the middle of the screen as in the corners of the screen. You do not get good projector clarity if that’s the case.
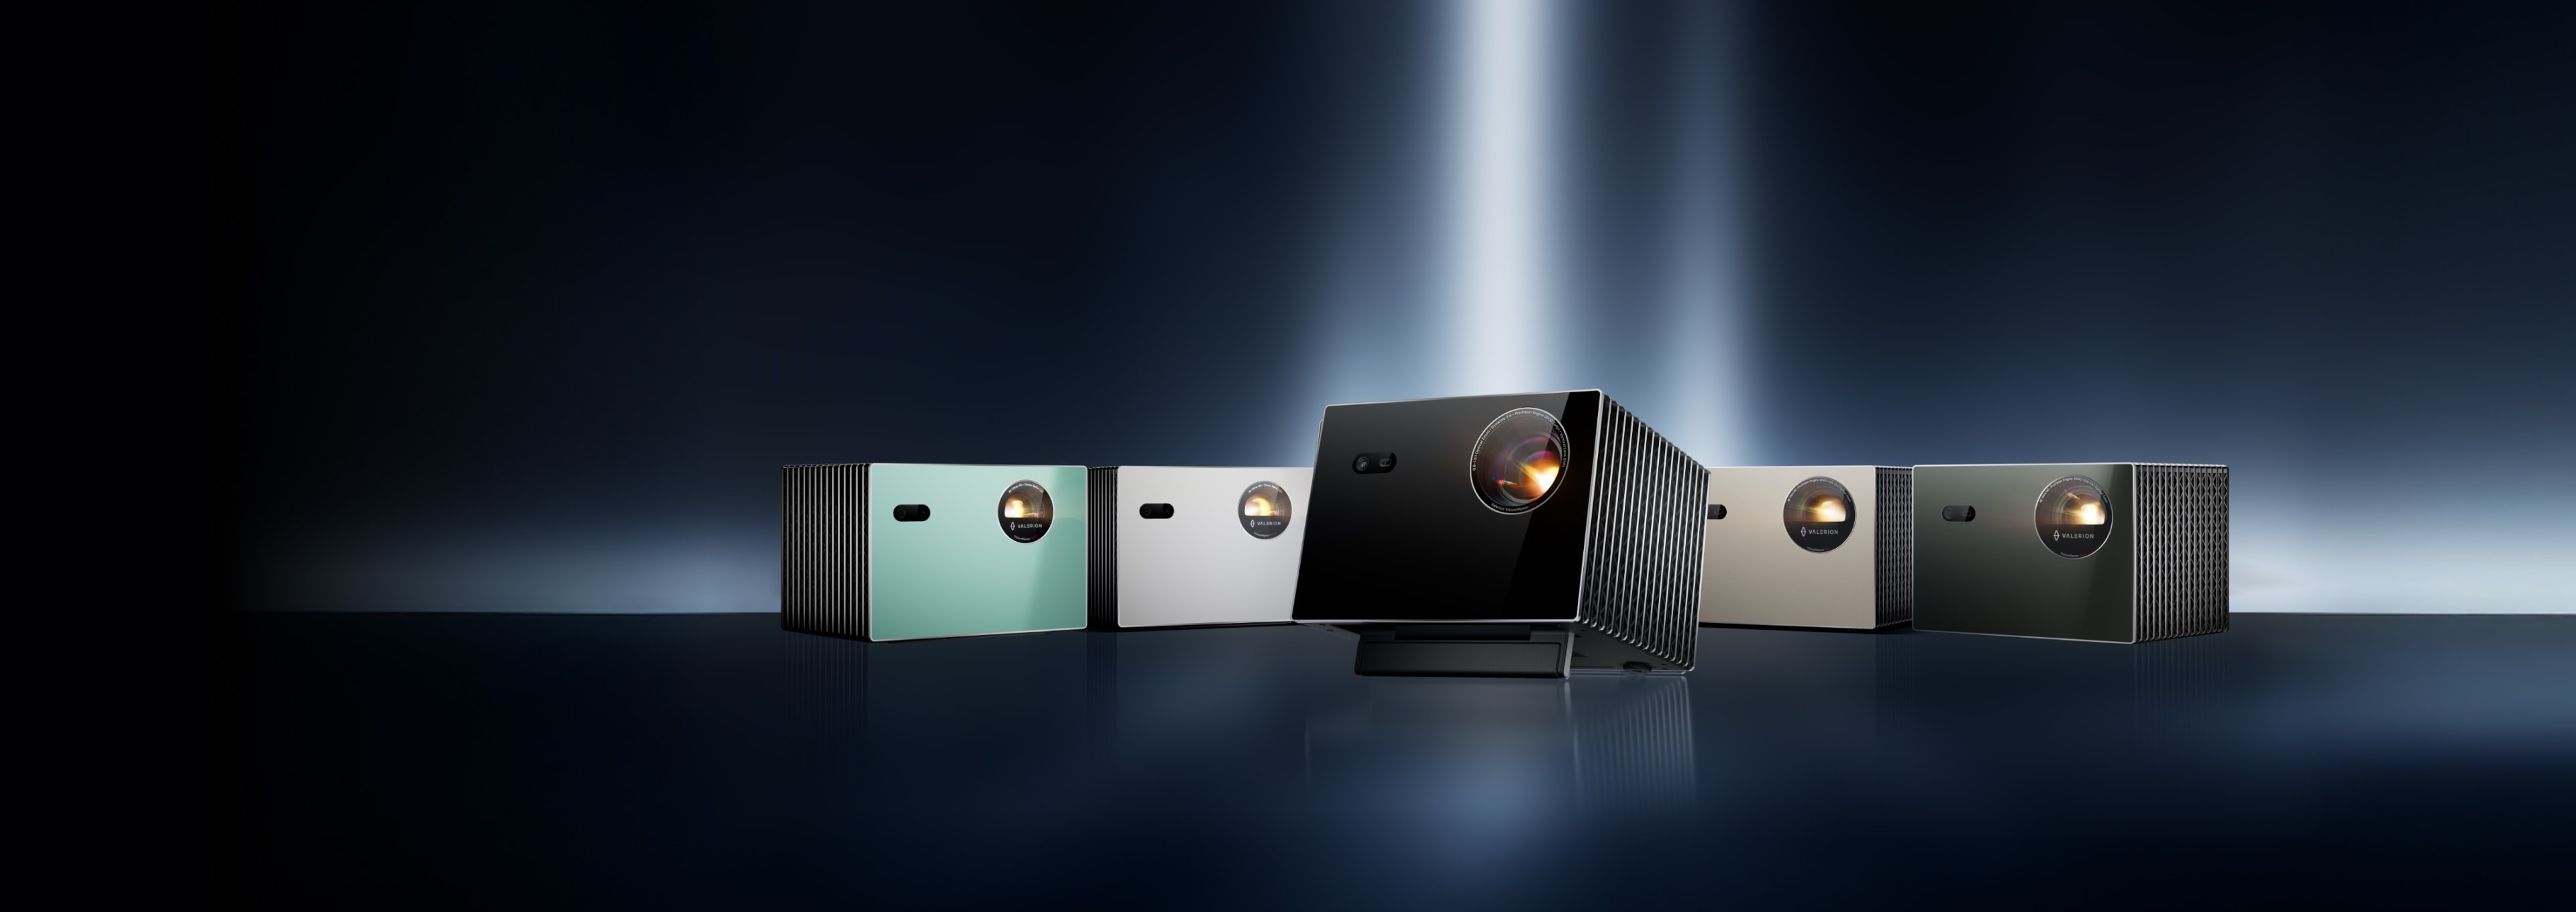
Before mounting your projector, you should test it out at different angles or in other places. Because your lens might be dirty, this could be forcing you to get bad-quality images or movies. With my projector VisionMaster from Valerion, I don't have to worry about that. It has an OpticFlex Lens System, so the projector adjusts itself and its focus. Ranging from 40-inch projection to 300 inches. You might want to check if your projector has that. This will save you a lot of time, and you will not need to worry about where to mount the projector. And you get a bright screen light at any distance.
Tip 2. Optimize the Projection and angle
To get the most out of your projector, you want to know more about the throw distance in the projection setup. You might wonder what the throw distance is.
Throw distance is the space between your projector and screen. It directly affects your image size and clarity. Moving the projector farther from the screen enlarges the image. But each model has an optimal distance range for sharp, bright visuals. You will need to check out your projector details for this.
Here is a formula that is going to help you increase the clarity of the projector:
Throw ratio = Distance ÷ Width
Distance (D) is the distance from the projector lens to the screen, and width (W) isthe projected image on the screen.
To calculate distance via formula:
Distance = Throw ratio × Image Width
Incorrect distances can result in dim or blurry images, so matching your projector's throw ratio to your room's constraints is crucial. There are different types of projectors and their throw ratios. Consider checking out a complete guide before buying one.
Tip 3. Choose the right screen or surface
There are different types of projection screens, and they all affect the quality of the image in various ways. If you want to go with basic white screens, you can use them. They are popular screens when it comes to it. Most people use them because they are affordable and durable. Make sure they are Gain 1 or higher.
Then there are Ambient Light Rejecting (ALR) screens. These screens are designed to enhance image contrast and color performance in environments with ambient light or strong reflections from white walls, such as a typical living room, so that you don't get any reflection or light source from walls that can ruin your experience.
There are Fresnel ALR screens, which are superior to standard ALR screens. They feature advanced layered technology that rejects up to 90% of ambient light, whereas normal ALR screens typically reject up to 50%.
Tip 4. Control Ambient Lighting
If you have too much ambient light, which is light coming from sources other than the projector, then it will ruin your experience. It doesn’t matter if you have a $1500 projector; you will get the same quality as a $300 one. Ambient light reduces the clarity you get from the projector. This is why people become nay-sayers; projectors are bad, and we've wasted our money. I don’t want you to be like them; this is why you will learn how to control ambient lights in the projector room.
First, dim your lights or turn them off, if possible. Then use black curtains to stop any light coming from outside. This will also lower ambient light, as black curtains absorb light photons, preventing them from reflecting on the screen. Thus, giving you better image quality. You can also add an ALR projector screen.
Another thing you can do is use a high-lumen projector. It's a projector that throws out more light than a standard projector. I use Valerion VisionMaster, which gives out 3000 ISO lumens, which is 1.30 times brighter than other projectors. You get a better and brighter screen light, so you don't have to worry about not seeing the image bright enough or from a long distance when you are giving a presentation or need the image size to be 300 inches. With a higher-lumen projector, you get brighter screen light.
Tip 5. Adjust Projector settings
Everyone likes different contrasts or brightness when it comes to viewing something on screen whether it is on a mobile or projection screen. This is why you need to adjust brightness, contrast, sharpness and color balance depending on your likeness. Make sure you follow steps to control ambient light, so you get to see your projector brightness and its clarity.
You will need to change them depending on what you are doing or different scenarios you are using the projector in. But tweaking every setting in my projector takes a lot of time. And you just want to sit and begin to watch or do what you want to do with your projector.
Tip 6. Clean the lens and maintain the projector
If my guess is right, then you do have a car or any type of vehicle. Even if you don't then imagine you do have one. Now you can use that vehicle any way you want. Yes, you can use it. But it won't last 20 years like that. If you want to make your car last, you know you have to maintain it. It is similar to a projector. Your car will ride better if you keep it. So will your projector give out a better image quality and a brighter screen? This will make your experience even better.
These are steps to clean the lens of the projector so you can get a bright screen light from the projector:
- Turn the projector off and let it cool down for 30 minutes and unplug it.
- Remove any loose dust on the projector. Then only you remove the lens cover.
- Hold the projector in a vertical position and use a manual lens blower to remove any loose dust. For the remaining dust, use a soft brush in gentle strokes.
- Now, slightly dampen a microfiber cloth with lens cleaner and clean it in circular motion from inside to outside. Never spray cleaner directly on the lens.
- Now that the dust is removed, let it air dry. If any dust is still there, follow the same steps again and put the lens cover back on.
Depending on the model and make of your projector, your dust filter might be placed in different places in the projector. The most common design among manufacturers is to put it near the vent of the projector. Use the instructions provided by your manufacturer to remove the vent and check the air filter. Replace if it has gone too badly.
Tip 7. Upgrade resolution and source quality
Your experience of enjoying a good movie or gaming depends on the quality and resolution that your projector can support. If your projector can only output 1080p, then you will not have the same sharpness and clarity as you would with a 4K projector.
1080p has resolution of 1920×1080 pixels. And 4K, also known as Ultra High Definition (UHD) has a resolution of 3840×2160. That is, a 4K projector offers four times more pixel density than 1080p projectors. This has a very noticeable difference on larger screens when you go above 65 inches. Most projectors used today project a screen of 100 inches, which is almost twice that of 65 inches. So, you see, even worse quality with a 1080p projector.
With 4K projectors, you get 8 million pixels, and with 1080p, you get 2 million pixels. To get most out of your 4K projectors, I recommend using high quality input sources. Because you deserve the best. So why use some bad streaming sources? You can check out Blu-ray if you want a good streaming source.
What Projector Should You Use?
I use VisionMaster from Valerion. They had other 4K projectors, but I liked this. This setup was able to satisfy my needs for a home theater, gaming, and a workspace for making presentations with 4 K at 144Hz.
It has an auto focus lens, which is an OpticFlex Lens System that automatically shifts focus depending on the size of the projector screen. So, you don't have to adjust or waste your time adjusting focus, and the hassle you get from it could ruin your experience. It even has IMAX enhanced right at your home. This mode enhances IMAX movies by 26% thus giving you an even better experience at home than the theater with IMAX could. This projector gives out a bright screen light.
For gaming, it features 4ms latency with 1080p at 240Hz. This means your input is recognized by the projector within 0.004 seconds, whereas others have 8 times the input lag, which could ruin your experience. You can enjoy 240Hz at 1080p or 4 K at 144Hz. 240Hz indicates that your screen is refreshed 240 times per second. Additionally, you get a contrast ratio of 50000:1 with IRIS, compared to 5000:1 with others.
Conclusion
Projectors aren't bad, just as people portray them. They are versatile tools that can be used at home, for cinema time with friends or family, for gaming, in offices, for presentations, in auditoriums, and for making your point to a large audience.
You just have to pay attention to resolution, clarity, sharpness, and vibrant image quality from the projector. You can get any projector you want. But are you sure this is the right one you are getting? This is why I encourage you to check out your current projector with Valerion's projectors .
If you liked this article or found something useful in it, then make sure to share it on social media with friends or family, because you don’t want them to get a projector that doesn’t fulfill their needs.


