Projector Shelf: How to Choose, Position, and Install One
September 30, 2026
A projector shelf can be one of the simplest ways to build a clean home theater setup. It keeps the projector off tables and floors, avoids a permanent ceiling installation, and can fit naturally into a living room, bedroom, or media room.
But choosing a shelf should not be the first step.
Before mounting anything to the wall, you need to know where the projector actually needs to sit. Screen size, throw ratio, lens position, lens offset, ventilation, and available adjustment all affect the final location. A shelf that looks perfect on the wall may place the projector too close, too far away, or too high to align properly with the screen.
The better approach is simple: determine the projector position first, then choose a shelf that fits it.
Can You Put a Projector on a Shelf?
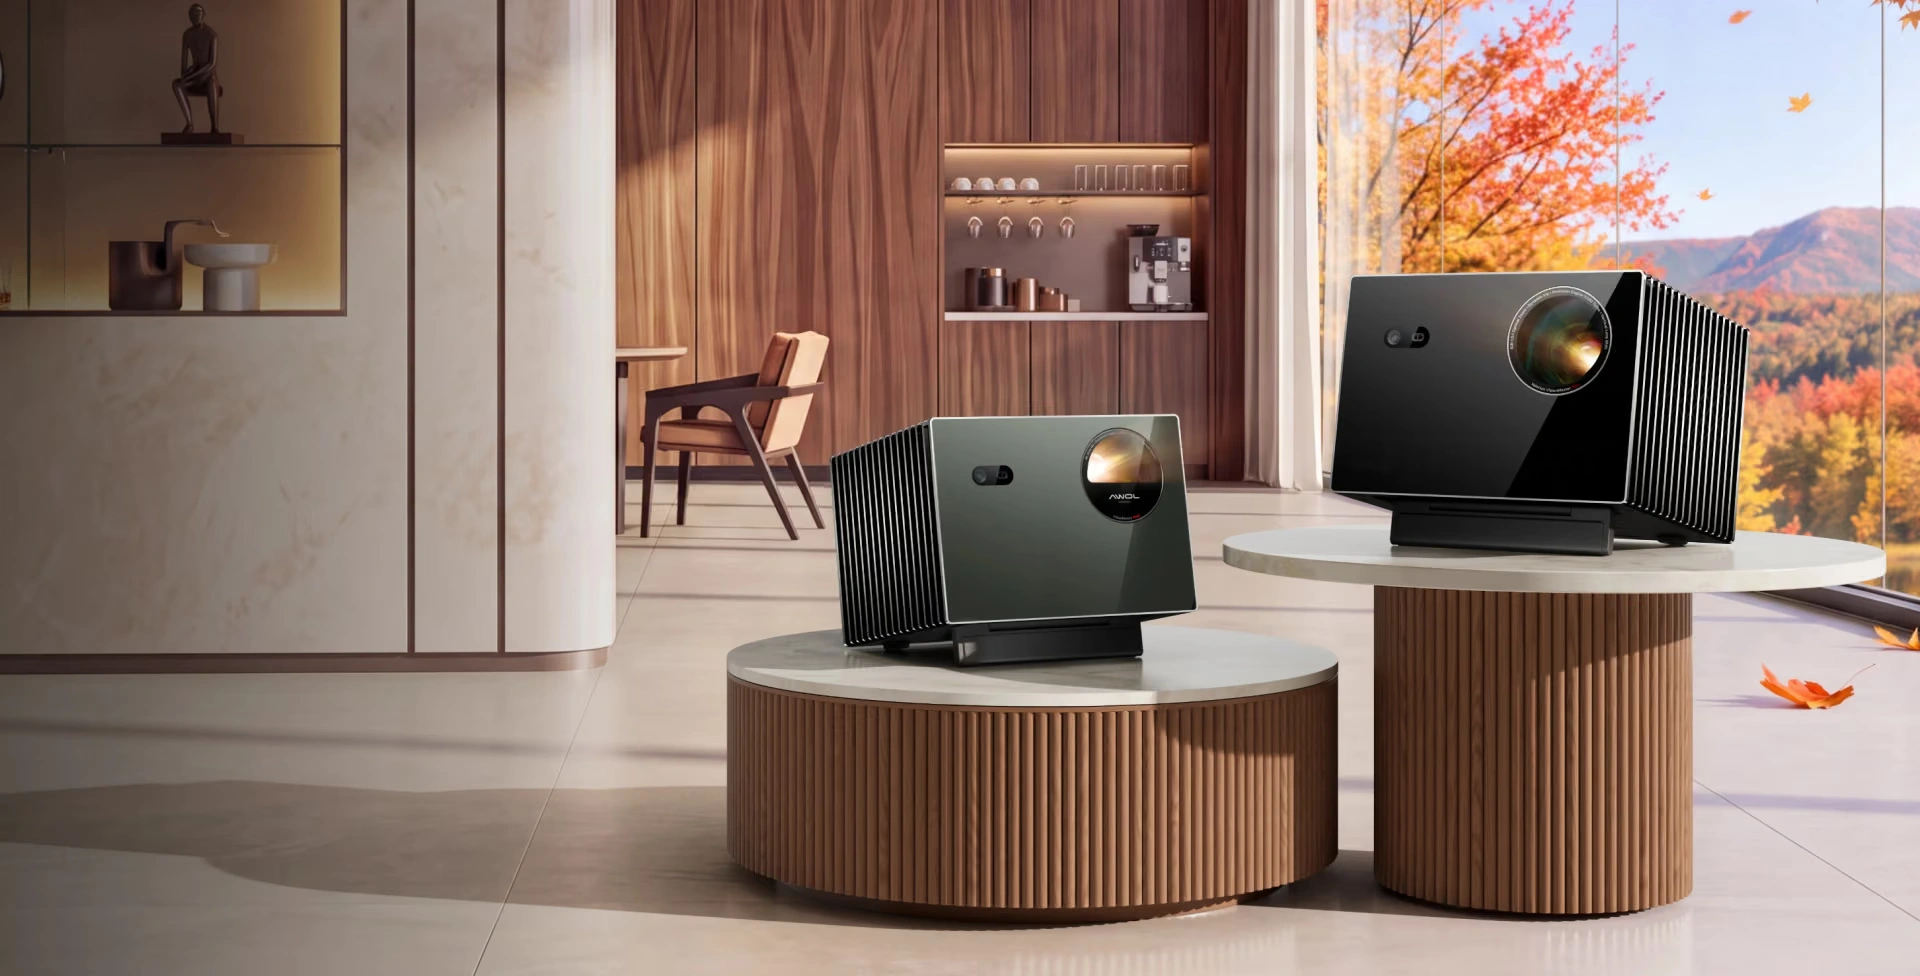
Yes. Many projectors can be placed on a sturdy shelf as long as the setup allows the projector to reach and align with the screen correctly.
For a shelf installation to work well, four things matter most:
- Stability: The shelf should be level, securely attached, and rated to support more than the projector's weight.
- Size: It needs enough depth and width to support the projector without leaving part of the chassis hanging over the edge.
- Ventilation: Intake and exhaust vents must remain unobstructed, with the clearance specified for the projector.
- Position: The lens must sit within the projector's usable throw distance and vertical alignment range.
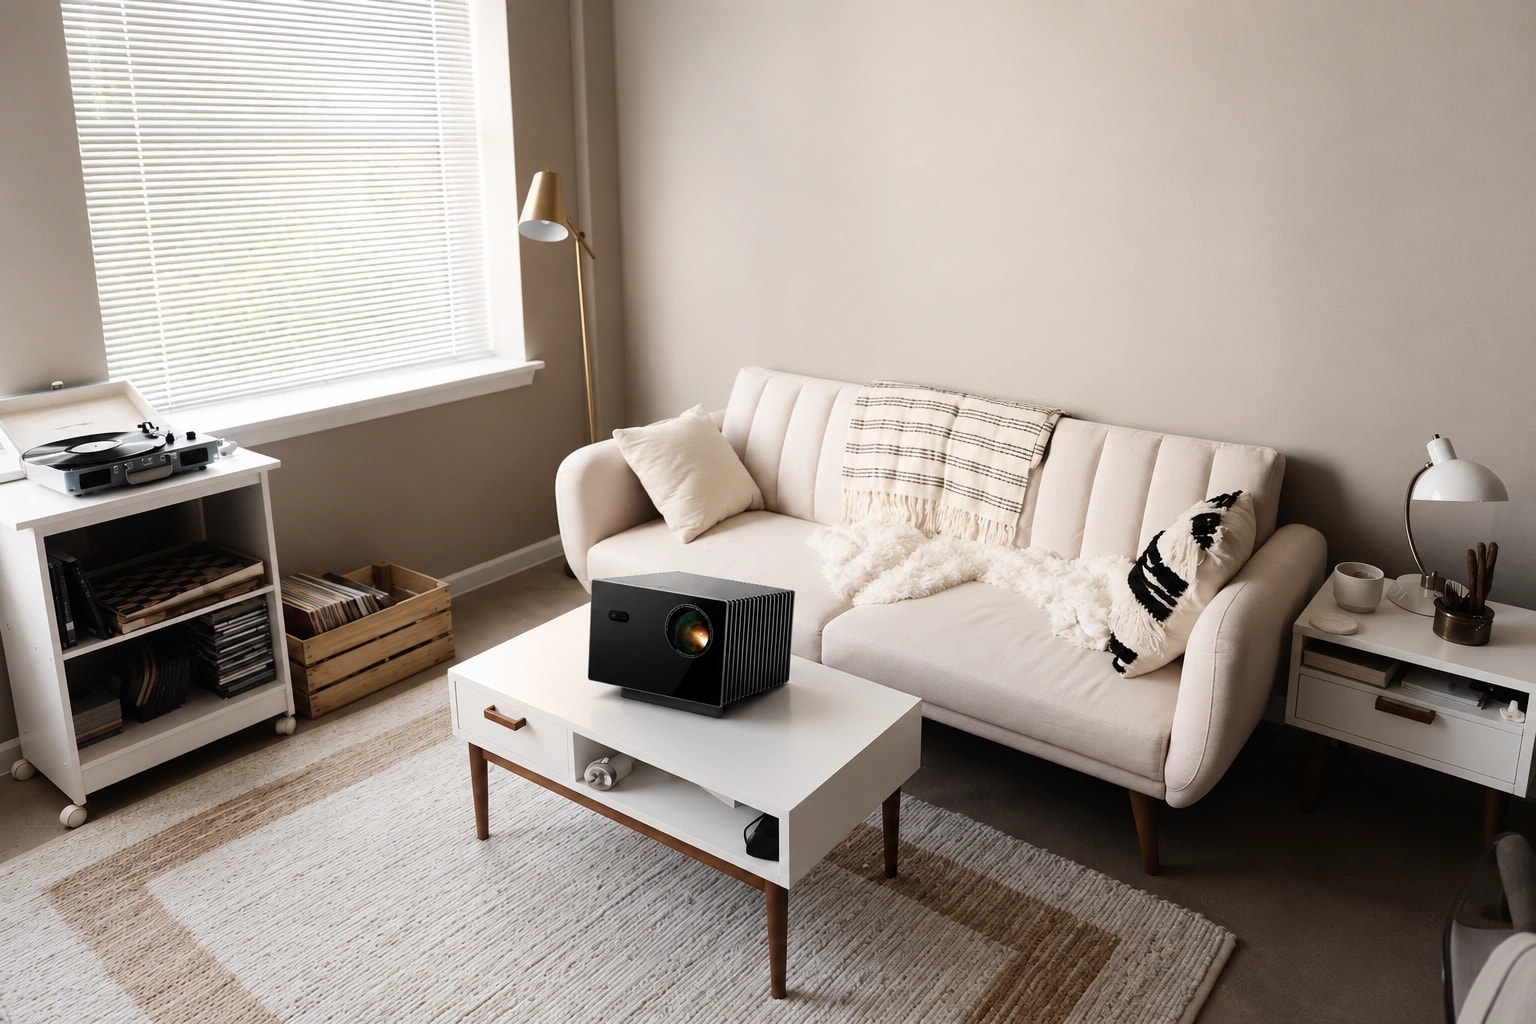
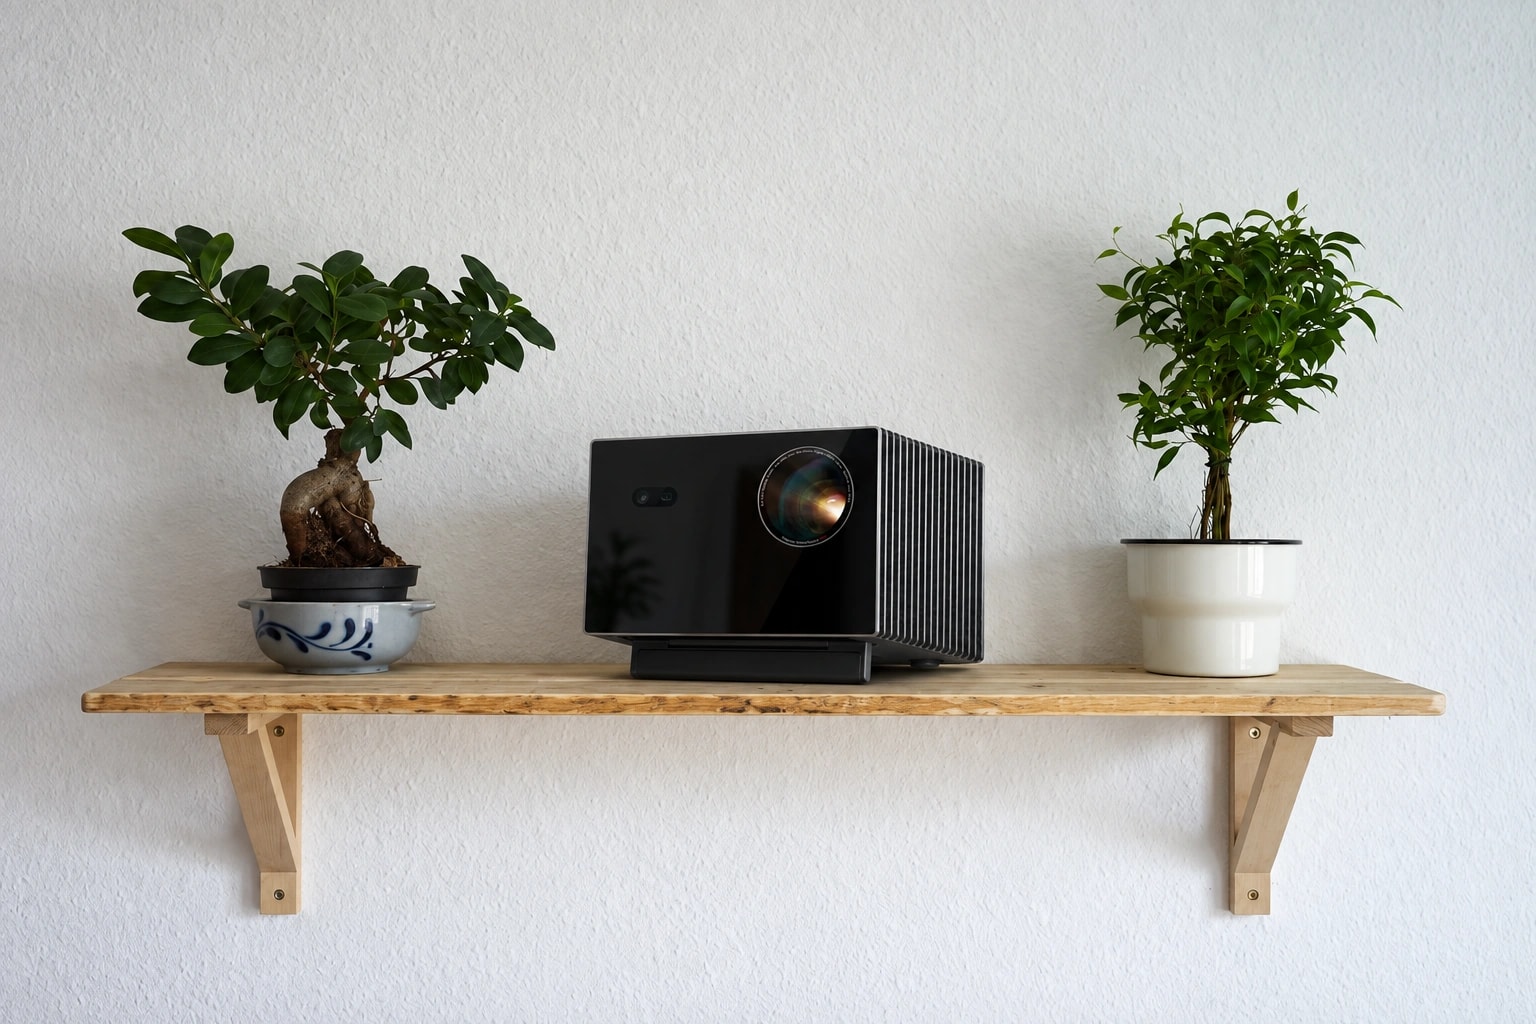
A shelf can take several forms. A simple floating shelf works in some rooms, while a deeper wall-mounted shelf may be better for a larger projector. In a more integrated living room, the projector might sit on a built-in cabinet or dedicated rear-wall shelf.
The important distinction is that a projector shelf is not simply storage furniture. It is part of the optical setup.
Where Should a Projector Shelf Go?
The correct shelf position starts with the screen.
Instead of finding an empty spot on the wall and trying to make the image fit afterward, work backward from the image size you want.
Calculate the Throw Distance
Every projector has a throw ratio that describes how far the lens needs to be from the screen relative to the width of the projected image.
A simplified formula is:
Throw distance = image width × throw ratio
For example, if a projector has a throw ratio range rather than a single fixed ratio, it can produce the same image size from more than one distance. That gives you a usable placement zone rather than one exact point.
This is particularly useful for a rear-wall projector shelf. If the wall falls somewhere within the projector's throw range, you may be able to position the unit on a shelf without moving the screen or changing the desired image size.
Remember that throw distance is normally measured from the projector lens to the screen, not from the back of the projector. That means you also need to account for the depth of the projector itself when deciding how deep the shelf should be and how far it will extend from the wall.
If you want to understand how this measurement changes across different projector types and image sizes, see our guide to projector throw ratio.
Determine the Right Projector Shelf Height
Horizontal distance is only half of the equation. The projector also has to sit at the correct height.
This depends on several factors:
- screen height
- lens position on the projector chassis
- vertical lens offset
- vertical lens shift range, if available
- whether the projector is installed upright or inverted
This is why there is no universal answer such as "mount the projector shelf five feet from the floor."
Two projectors sitting at exactly the same height can project their images at different vertical positions because their optical systems are different.
A useful way to think about the setup is:
Throw ratio helps determine how far back the shelf can go. Lens offset and lens shift help determine how high the projector can sit.
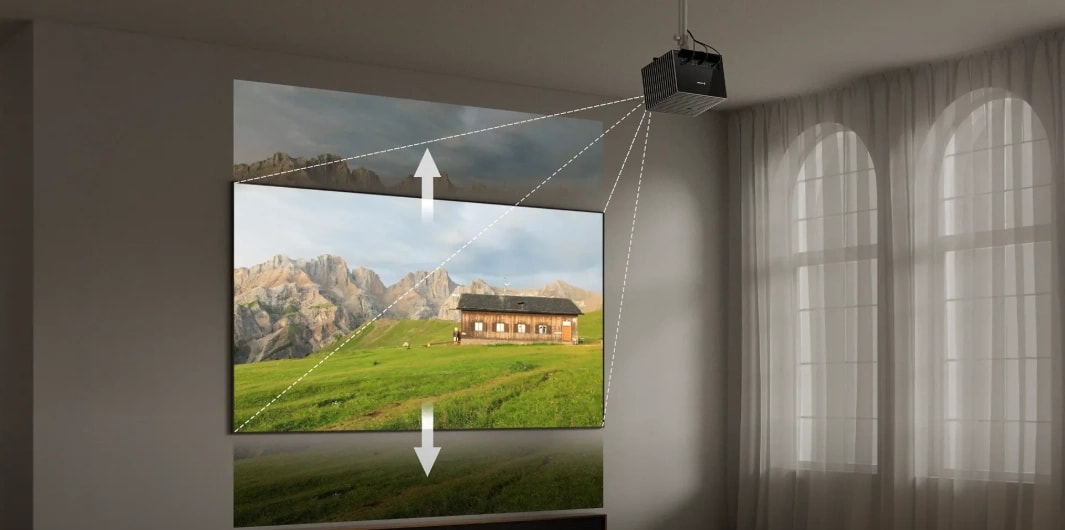
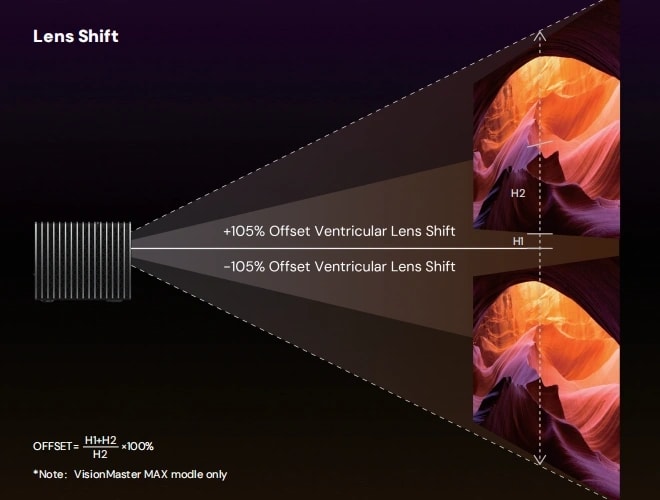
Lens offset describes where the image naturally appears in relation to the center of the lens. Lens shift, when available, lets you move the projected image vertically without physically tilting the projector.
If you are not familiar with the difference, see our guide to projector lens shift before fixing the shelf height.
For setups that need greater placement flexibility, AWOL Valerion Max combines a native 0.9–1.5:1 throw ratio with ±105% vertical lens shift. The adjustable throw range gives you more freedom in front-to-back positioning, while vertical lens shift helps fine-tune image height without physically tilting the projector. Vertical lens shift is specific to Max; the Pro and Plus series do not include this feature.
Even with flexible adjustment tools, start with the strongest possible physical alignment before relying on digital keystone correction.
Check Shelf Depth, Cable Space, and Airflow
Once you know where the lens needs to be, you can start choosing the actual shelf.
Do not use the projector's chassis depth as the shelf depth without considering everything behind it.
You may also need space for:
- the power cable
- HDMI cables
- USB or network connections
- ventilation around the rear or sides
- room to access ports
- a small amount of adjustment during setup
If a projector is 12 inches deep, for example, a 12-inch shelf may still be too shallow once the cables are connected.
Airflow is equally important. Projector designs vary significantly, so there is no single clearance measurement that applies to every model. Check the installation requirements for your projector and make sure the shelf, wall, cabinetry, or decorative panels do not block the intake or exhaust vents.
How to Install a Projector Shelf Step by Step
Once the optical position is clear, the physical installation becomes much easier.
1. Choose Your Screen Size
Decide the image size before marking the shelf location.
A larger image requires a different throw distance than a smaller one, so changing screen size later can move the ideal projector position substantially.
If you are still deciding between different sizes, start with our projector screen size and viewing distance guide. Room dimensions, seating distance, and the type of content you watch all matter before you commit to a screen.
If the screen is already installed, measure its actual image width rather than relying only on the diagonal size.
2. Calculate the Projector Position
Use the projector's throw ratio to determine the usable lens-to-screen distance.
If the projector includes optical zoom, you may have a range of possible positions. A fixed-throw projector will usually give you less freedom.
Measure the room and confirm that your intended shelf wall falls inside that usable range before drilling or buying mounting hardware.
3. Mark the Lens Position
This is an easy step to overlook.
Do not align the installation only around the center of the projector body. The lens may sit off-center horizontally or vertically on the chassis.
Mark:
- the screen centerline
- the intended lens height
- the expected lens-to-screen distance
Then compare those measurements with the projector's lens offset and available lens shift.
This step is especially important when the shelf sits high on a rear wall. Getting the lens position right at the planning stage reduces the amount of correction needed later.
4. Choose a Shelf That Fits the Projector
Now check the physical requirements.
The shelf should provide:
- adequate width and depth
- sufficient load capacity
- secure mounting hardware
- suitable attachment to the wall structure
- cable access
- unobstructed ventilation
A floating shelf can look cleaner, but its rated load and usable depth matter more than appearance.
For heavier projectors, use mounting hardware designed for the weight involved and make sure the wall structure can support the installation.
5. Mount and Level the Shelf
A projector shelf should be level before the projector goes on it.
Even a small tilt can make alignment more difficult and encourage unnecessary keystone correction later.
After mounting, verify the shelf with a level and check that it does not flex noticeably under the projector's weight.
If you are installing the screen at the same time, our projector screen setup guide covers screen placement, mounting, and final alignment in more detail.
6. Place and Fine-Tune the Projector
Once the projector is on the shelf, work through the adjustments in a logical order:
- Physically position and level the projector.
- Set the desired image size with optical zoom, if available.
- Use optical lens shift, if available, to refine vertical alignment.
- Make minor digital corrections only where necessary.
Avoid beginning with keystone correction before checking whether the projector itself can simply be repositioned.
Once the geometry is correct, you can move on to picture tuning. Our projector calibration guide covers brightness, contrast, color, HDR, and other adjustments after the physical setup is complete.
Projector Shelf Behind the Couch: Does It Work?
A projector shelf behind the couch can work particularly well in a living room where the sofa is already close to the rear wall.
Instead of placing a tripod or projector stand in the walking area, the projector can sit above or behind the seating position while projecting toward the opposite wall.
Before installing one, check several practical details.
First, make sure the rear wall falls within the correct throw range for your desired screen size. Moving the projector only a few feet can make a significant difference in image size.
Next, consider the height. The projector needs a clear optical path above seated viewers while remaining within its supported lens offset or lens shift range.
Noise is another consideration. A projector placed immediately above the seating position will naturally be closer to viewers than one mounted farther away, so fan noise may be more noticeable in very quiet scenes.
Finally, think about cables. A rear-wall shelf can simplify wiring because power, HDMI, streaming devices, and network connections can often be routed along or inside the wall rather than across the room.
One useful rule: position the projector according to the screen, not according to the couch. Furniture can move. The optical relationship between the lens and screen is what determines whether the installation works.
Projector Shelf vs. Ceiling Mount
A shelf and a ceiling mount can both create a permanent projector setup, but they suit different rooms.
|
Consideration |
Projector Shelf |
Ceiling Mount |
|
Installation |
Usually easier to access and adjust |
Requires overhead mounting |
|
Maintenance |
Easy to reach |
Less convenient to access |
|
Room design |
Can integrate with shelving or cabinetry |
Keeps walls and furniture clearer |
|
Best location |
Works well when a rear wall matches the throw range |
Useful when the ideal position falls away from a wall |
|
Cable routing |
Often easier along a wall |
May require ceiling cable routing |
|
Future changes |
Easier to remove or reposition |
Better suited to a fixed installation |
A projector shelf makes the most sense when the projector can naturally reach the screen from a wall or cabinet position.
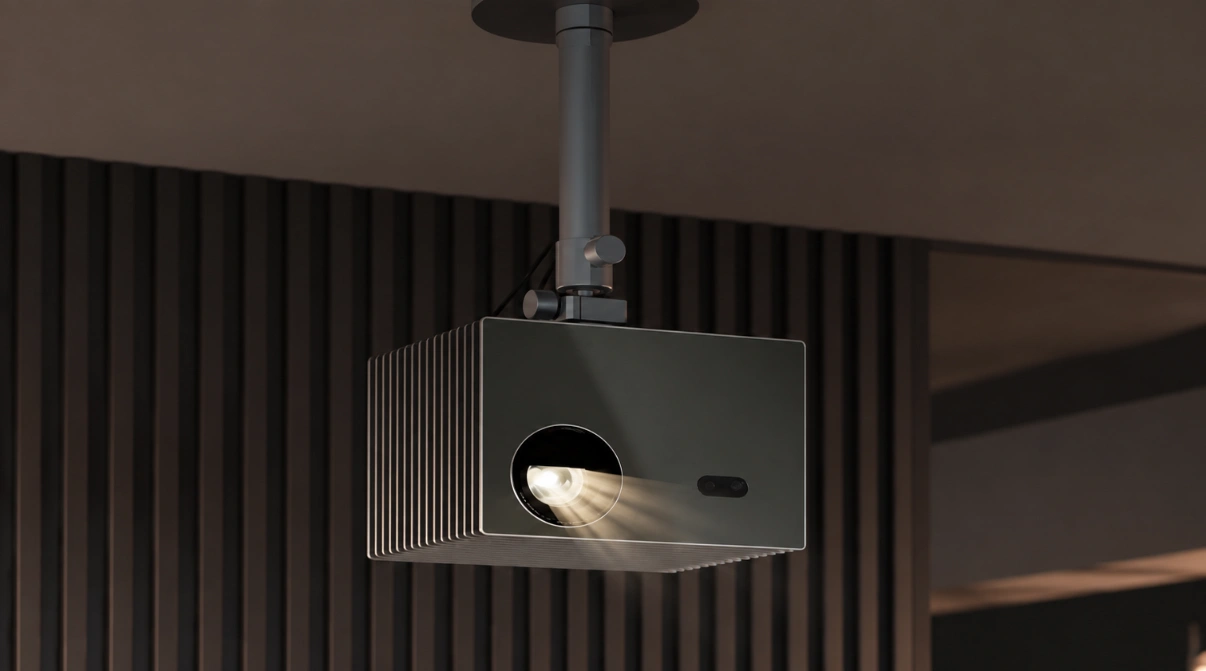
A ceiling mount becomes more useful when the correct throw distance falls in the middle of the room or when keeping the projector completely away from furniture and seated viewers is more important.
Neither option is automatically better. The projector's optical requirements should determine the installation method.
Measure First, Mount Second
The best projector shelf is not necessarily the most attractive or the largest one. It is the shelf that places the projector where its optics need it to be.
Start with the desired screen size. Calculate the throw distance. Check lens offset and lens shift. Determine the required shelf height, then measure the projector, cables, and ventilation space before choosing the shelf itself.
Following that order turns a projector shelf from a piece of furniture into a properly planned part of the home theater—and makes final image alignment much easier.
Hidden Projector Shelf Ideas for a Cleaner Living Room
A projector does not have to become the visual focus of the room when it is switched off.
If interior design matters, the shelf itself can be integrated into the space.
- Floating shelf: A minimal rear-wall shelf can visually blend with other shelving and works especially well when cables are concealed.
- Built-in cabinetry: A projector compartment can be incorporated into bookshelves or media storage. Just make sure decorative panels and cabinet walls do not restrict ventilation.
- Removable projector shelf: If the projector is only used occasionally, a removable installation can keep the wall cleaner when the system is not in use. Careful positioning makes it easier to return the projector to the same location each time.
- Retractable or concealed shelf: More elaborate home theaters can use custom cabinetry or motorized mechanisms to hide the projector when it is not being used.
Whatever approach you choose, concealment should come after the optical and cooling requirements. A projector that is beautifully hidden but poorly ventilated or positioned outside its correct throw range is not a successful installation.
FAQ About Projector Shelves
Can I put a projector on a floating shelf?
Yes, provided the shelf is deep enough, securely mounted, rated for the projector's weight, and positioned at the correct throw distance and height. Make sure it does not obstruct any ventilation openings.
How high should a projector shelf be?
There is no standard projector shelf height. The correct position depends on the screen location, lens offset, lens position, projector orientation, and available vertical lens shift.
How deep should a projector shelf be?
The shelf should fully support the projector while leaving enough room for connected cables, port access, and required ventilation. Measure the complete installed setup rather than the projector body alone.
Can I put a projector behind the couch?
Yes. A rear-wall shelf behind the couch can be a practical living-room setup when the wall falls within the projector's usable throw range. Also check height, fan-noise proximity, cable routing, and lens alignment before mounting.
Is a projector shelf better than a ceiling mount?
It depends on the room. A shelf is convenient when the correct projector position is close to a wall and easy access matters. A ceiling mount can be preferable when the ideal optical position falls farther into the room or when you want the projector completely out of the way.
Member Benefits
Bring Your Cinema Experience Further
Subscribe and receive a $50 Welcome Benefit plus 4 pairs of 3D glasses, along with exclusive Valerion updates.

Points & Rewards

Member Pricing

Early Access

Priority Support
Discover More Insights