Most ceiling mount guides start with tilt, rotation, and adjustment range. Those specs matter, but they are not the best place to start.
A ceiling projector mount has one primary job: hold the projector securely in the correct physical position. The mount establishes where the projector sits and how level it is. Lens shift, when available, lets you fine-tune image position optically without tilting the projector.
Before comparing mounts, first determine where the projector can sit front to back. Then measure four things: projector weight, mounting interface, required ceiling drop, and available ceiling structure.
Before the Four Measurements: Confirm Throw Distance
Throw distance comes first because it determines the usable front-to-back installation zone.
Start with your target screen size, then check the projector's throw-ratio range. If you are still deciding on image size, see our guide to choosing projector screen size. For the math behind placement, read our projector throw ratio guide.
Here is a useful example. A 120-inch 16:9 image is about 8.7 feet wide. At a 15-foot lens-to-screen distance, the required throw ratio is about 1.72:1. A projector whose optical throw range stops below 1.72 would need to sit closer or project a larger image.
Optical zoom can provide flexibility inside the projector's supported throw range, but it cannot overcome a room position that falls outside that range.
Once you know the valid front-to-back zone, choosing the mount becomes much easier.
Measurement 1: Projector Weight
Find the manufacturer's published projector weight rather than estimating it.
Every mount has a maximum load rating. Treat that number as a limit, not a target. Choose a mount with a rating comfortably above the projector's actual weight, and verify any adapter or intermediate plate separately.
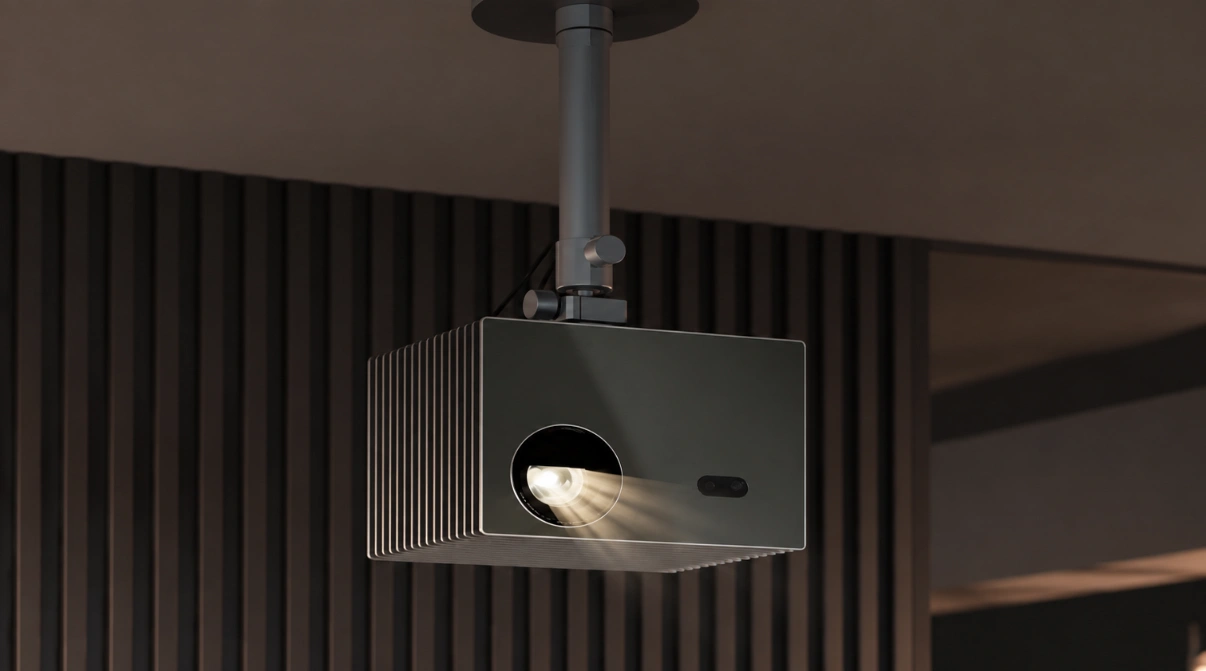
For reference, the AWOL Valerion Max weighs 16.5 lb (7.5 kg) and measures approximately 10.2 × 7.3 × 9.2 inches (260 × 186 × 234 mm).
The bracket is only one part of the load path, however. Fasteners and ceiling structure matter just as much as the mount's metal frame.
Measurement 2: Mounting Interface
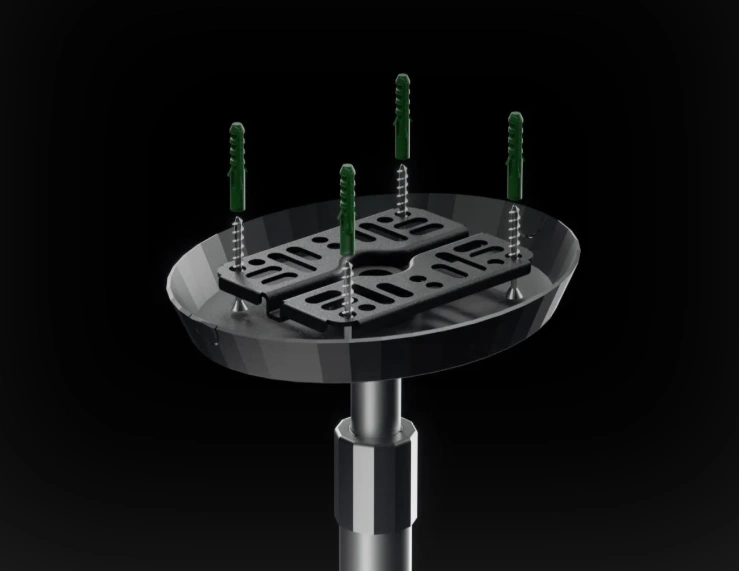
Turn the projector over and check how it attaches.
Some compact projectors use a single threaded mounting socket. Valerion projectors use a standard 1/4"-20 mounting thread, a format also common in camera and tripod hardware.
If your projector uses a single mounting point, choose a mount specifically designed and load-rated for that interface, with a locking system that keeps the projector from rotating after alignment.
Larger projectors may use multiple threaded mounting points. A universal projector mounting bracket often uses adjustable arms or a configurable plate to reach those holes.
“Universal” does not mean “fits everything.” Check:
- hole positions and thread size;
- supported spacing and screw depth;
- projector dimensions and weight;
- ventilation clearance; and
- the mount's load rating.
If an existing ceiling mount and a new projector use different interfaces, a projector mount adapter may bridge the two. But verify the adapter's own load rating and geometry. If the projector and mount already connect directly, adding another joint usually provides little benefit.
Measurement 3: Required Drop and Lens Shift
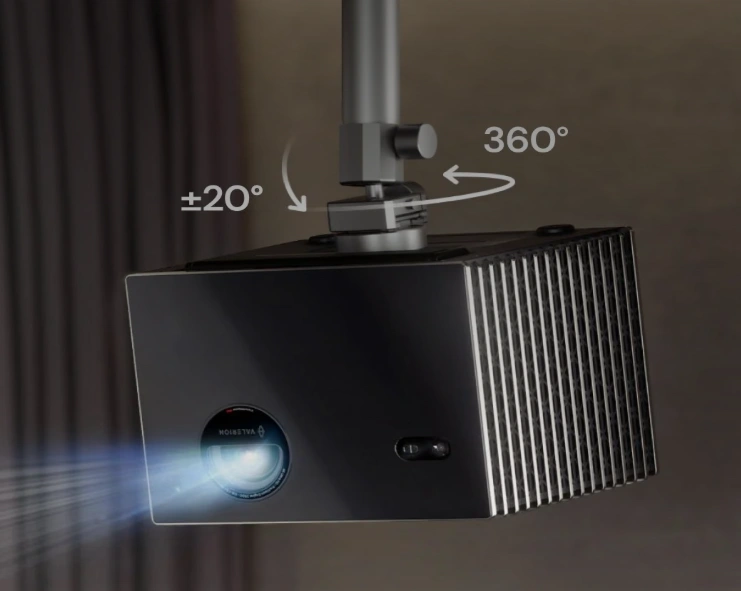
Next, determine how far below the ceiling the projector lens needs to sit.
A projector without lens shift has a relatively fixed relationship between the lens and the image. If the projector is mounted too high or too low, you may be forced to tilt the chassis toward the screen.
That can create keystone distortion.
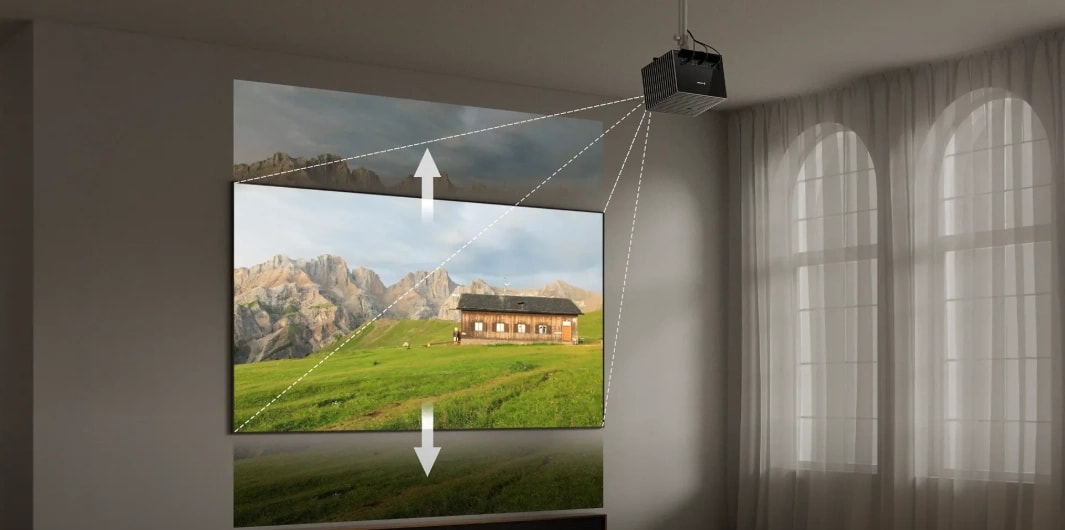
Vertical lens shift solves a different problem. It moves the projected image optically while the projector remains level and square to the screen. Mount tilt and lens shift are therefore not equivalent.
Lens Shift vs. Automatic or Manual Keystone
This distinction is especially important when comparing projector positioning features.
Automatic and manual keystone correction digitally reshape the image after the projector is aimed at an angle. Lens shift changes the image position optically without requiring that angle.
Some product descriptions can also make motorized lens adjustment and automatic keystone sound similar. They are not. Motorized lens shift is still an optical adjustment; automatic or manual keystone remains digital image correction.
For a permanent ceiling installation, the preferred order is:
Physical placement → optical zoom/lens shift → minimal digital keystone correction
If you want a deeper explanation, see what keystone correction is on a projector.
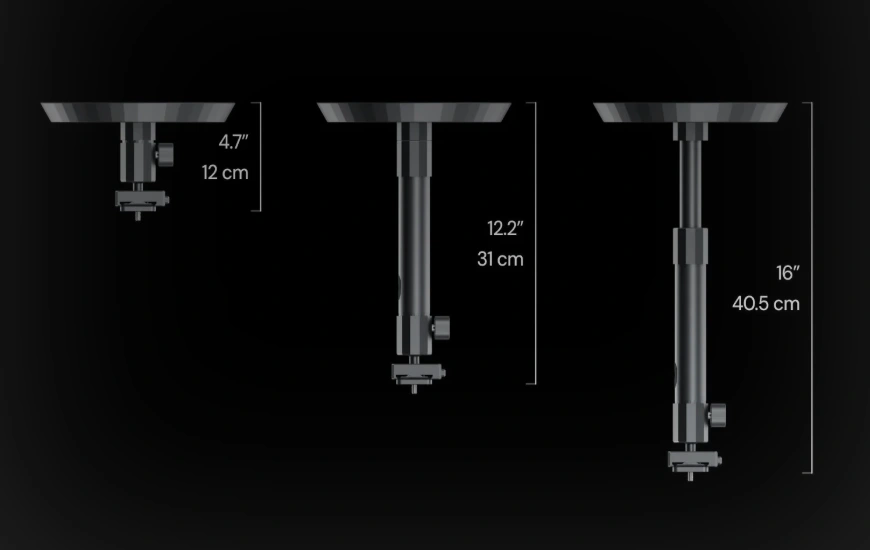
Once you know the acceptable lens height, measure from the ceiling down to that position. That is your required drop. A small drop may suit a low-profile mount; a larger gap may require an extension pole.
Choose a mount whose adjustment range surrounds your required position rather than matching it exactly. Extra usable range helps with fine alignment, but more drop is not automatically better.
Measurement 4: Ceiling Structure
Now confirm what the mount will actually attach to.
In U.S. homes, framing is commonly spaced at 16 or 24 inches on center, but do not assume your ceiling follows either pattern. Locate the real structural members first.
There is also no universal rule that a projector mount must span two joists. Some mounts are designed to attach to one structural member; others use a wider ceiling plate or blocking. Follow the mount manufacturer's structural requirements.
Concrete ceilings require fasteners rated for the actual substrate and overhead load. Suspended ceiling tile and the visible grid should not be treated as structural support. Sloped ceilings may require hardware that creates a level mounting interface below the slope.
If the available attachment point changes the projector's vertical position, vertical lens shift may help.
If it moves the projector left or right of the screen centerline, vertical lens shift cannot fix that.
The AWOL Valerion Max, for example, provides ±105% vertical lens shift but no horizontal lens shift. That gives substantial vertical flexibility, but horizontal placement still matters.
Rotating an off-center projector toward the screen is not the same as horizontal lens shift and can introduce horizontal keystone distortion.
For more on this geometry, see can projectors work at an angle?.
What Projector Specs Matter for Permanent Ceiling Mounting?
If you are choosing the projector and the mount at the same time, prioritize installation specs before convenience features.
Throw ratio and optical zoom determine whether the projector can produce your target image size from the ceiling position you actually have. This matters especially with a fixed distance such as a 15-foot throw, where a mismatch can make the intended screen size impossible.
Lens shift is equally useful because it gives you optical placement flexibility without requiring the chassis to tilt.
Also check:
- projector weight and mounting interface;
- chassis dimensions;
- intake and exhaust locations;
- required ventilation clearance; and
- access to ports and controls after mounting.
For long viewing sessions, do not judge cooling from marketing claims alone. Even a well-designed cooling system needs unobstructed airflow. A ceiling mount should not block vents or push the projector too close to a beam, ceiling surface, or enclosure.
If fan behavior is a concern, our projector fan noise guide explains what affects cooling noise.
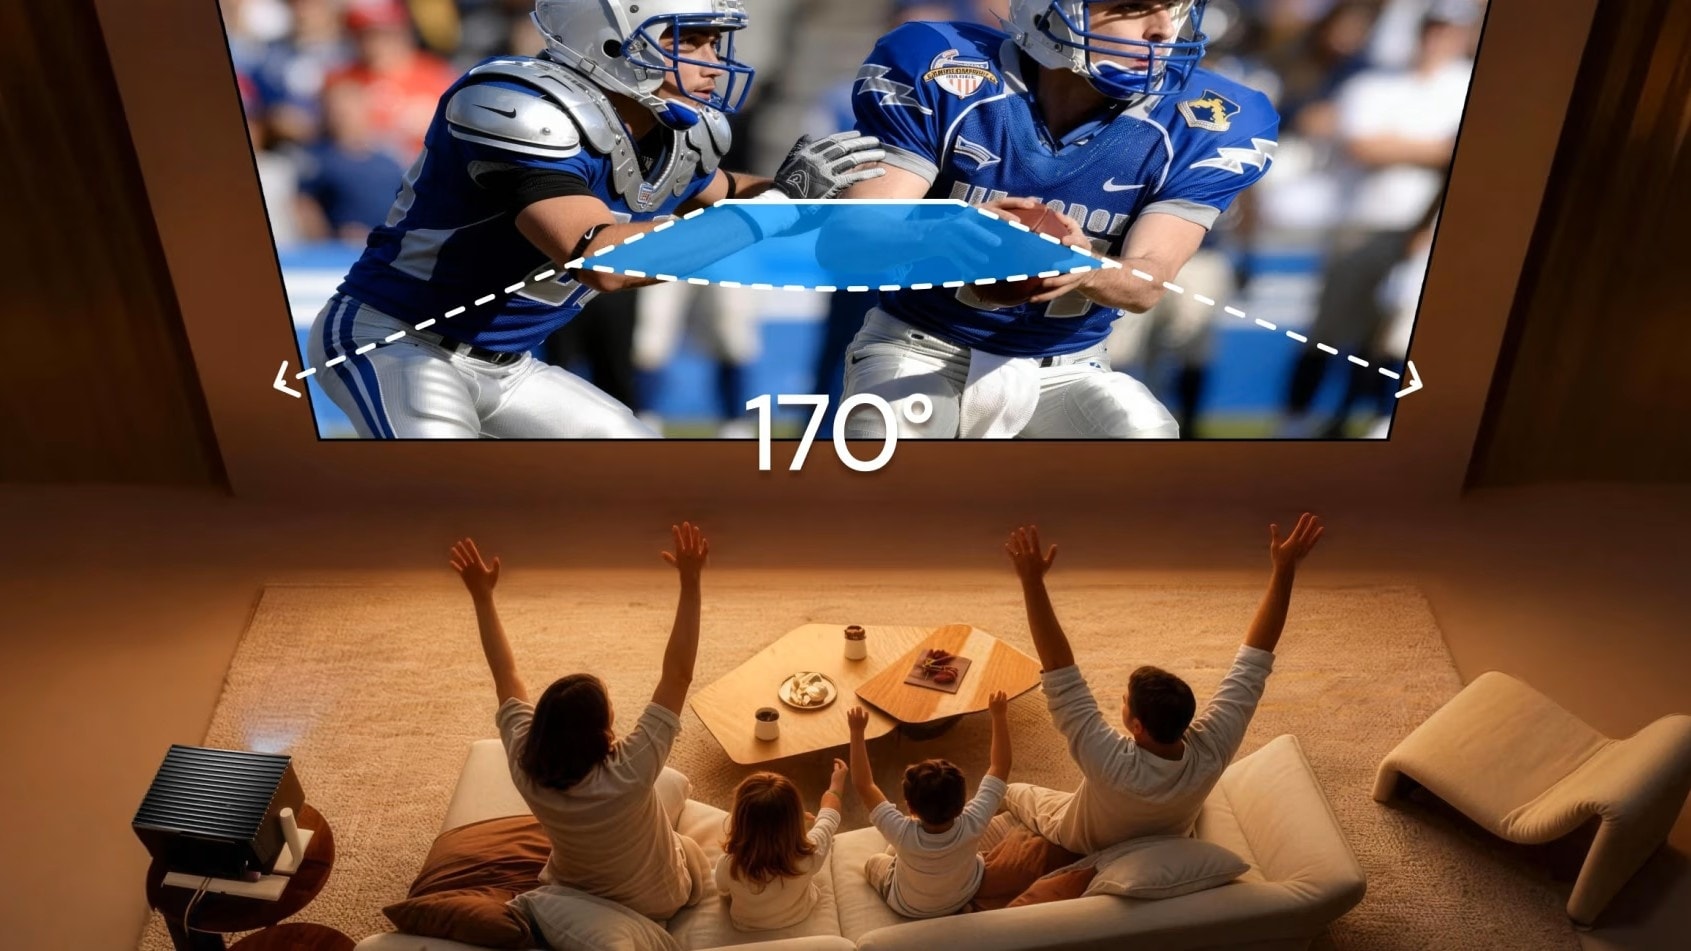
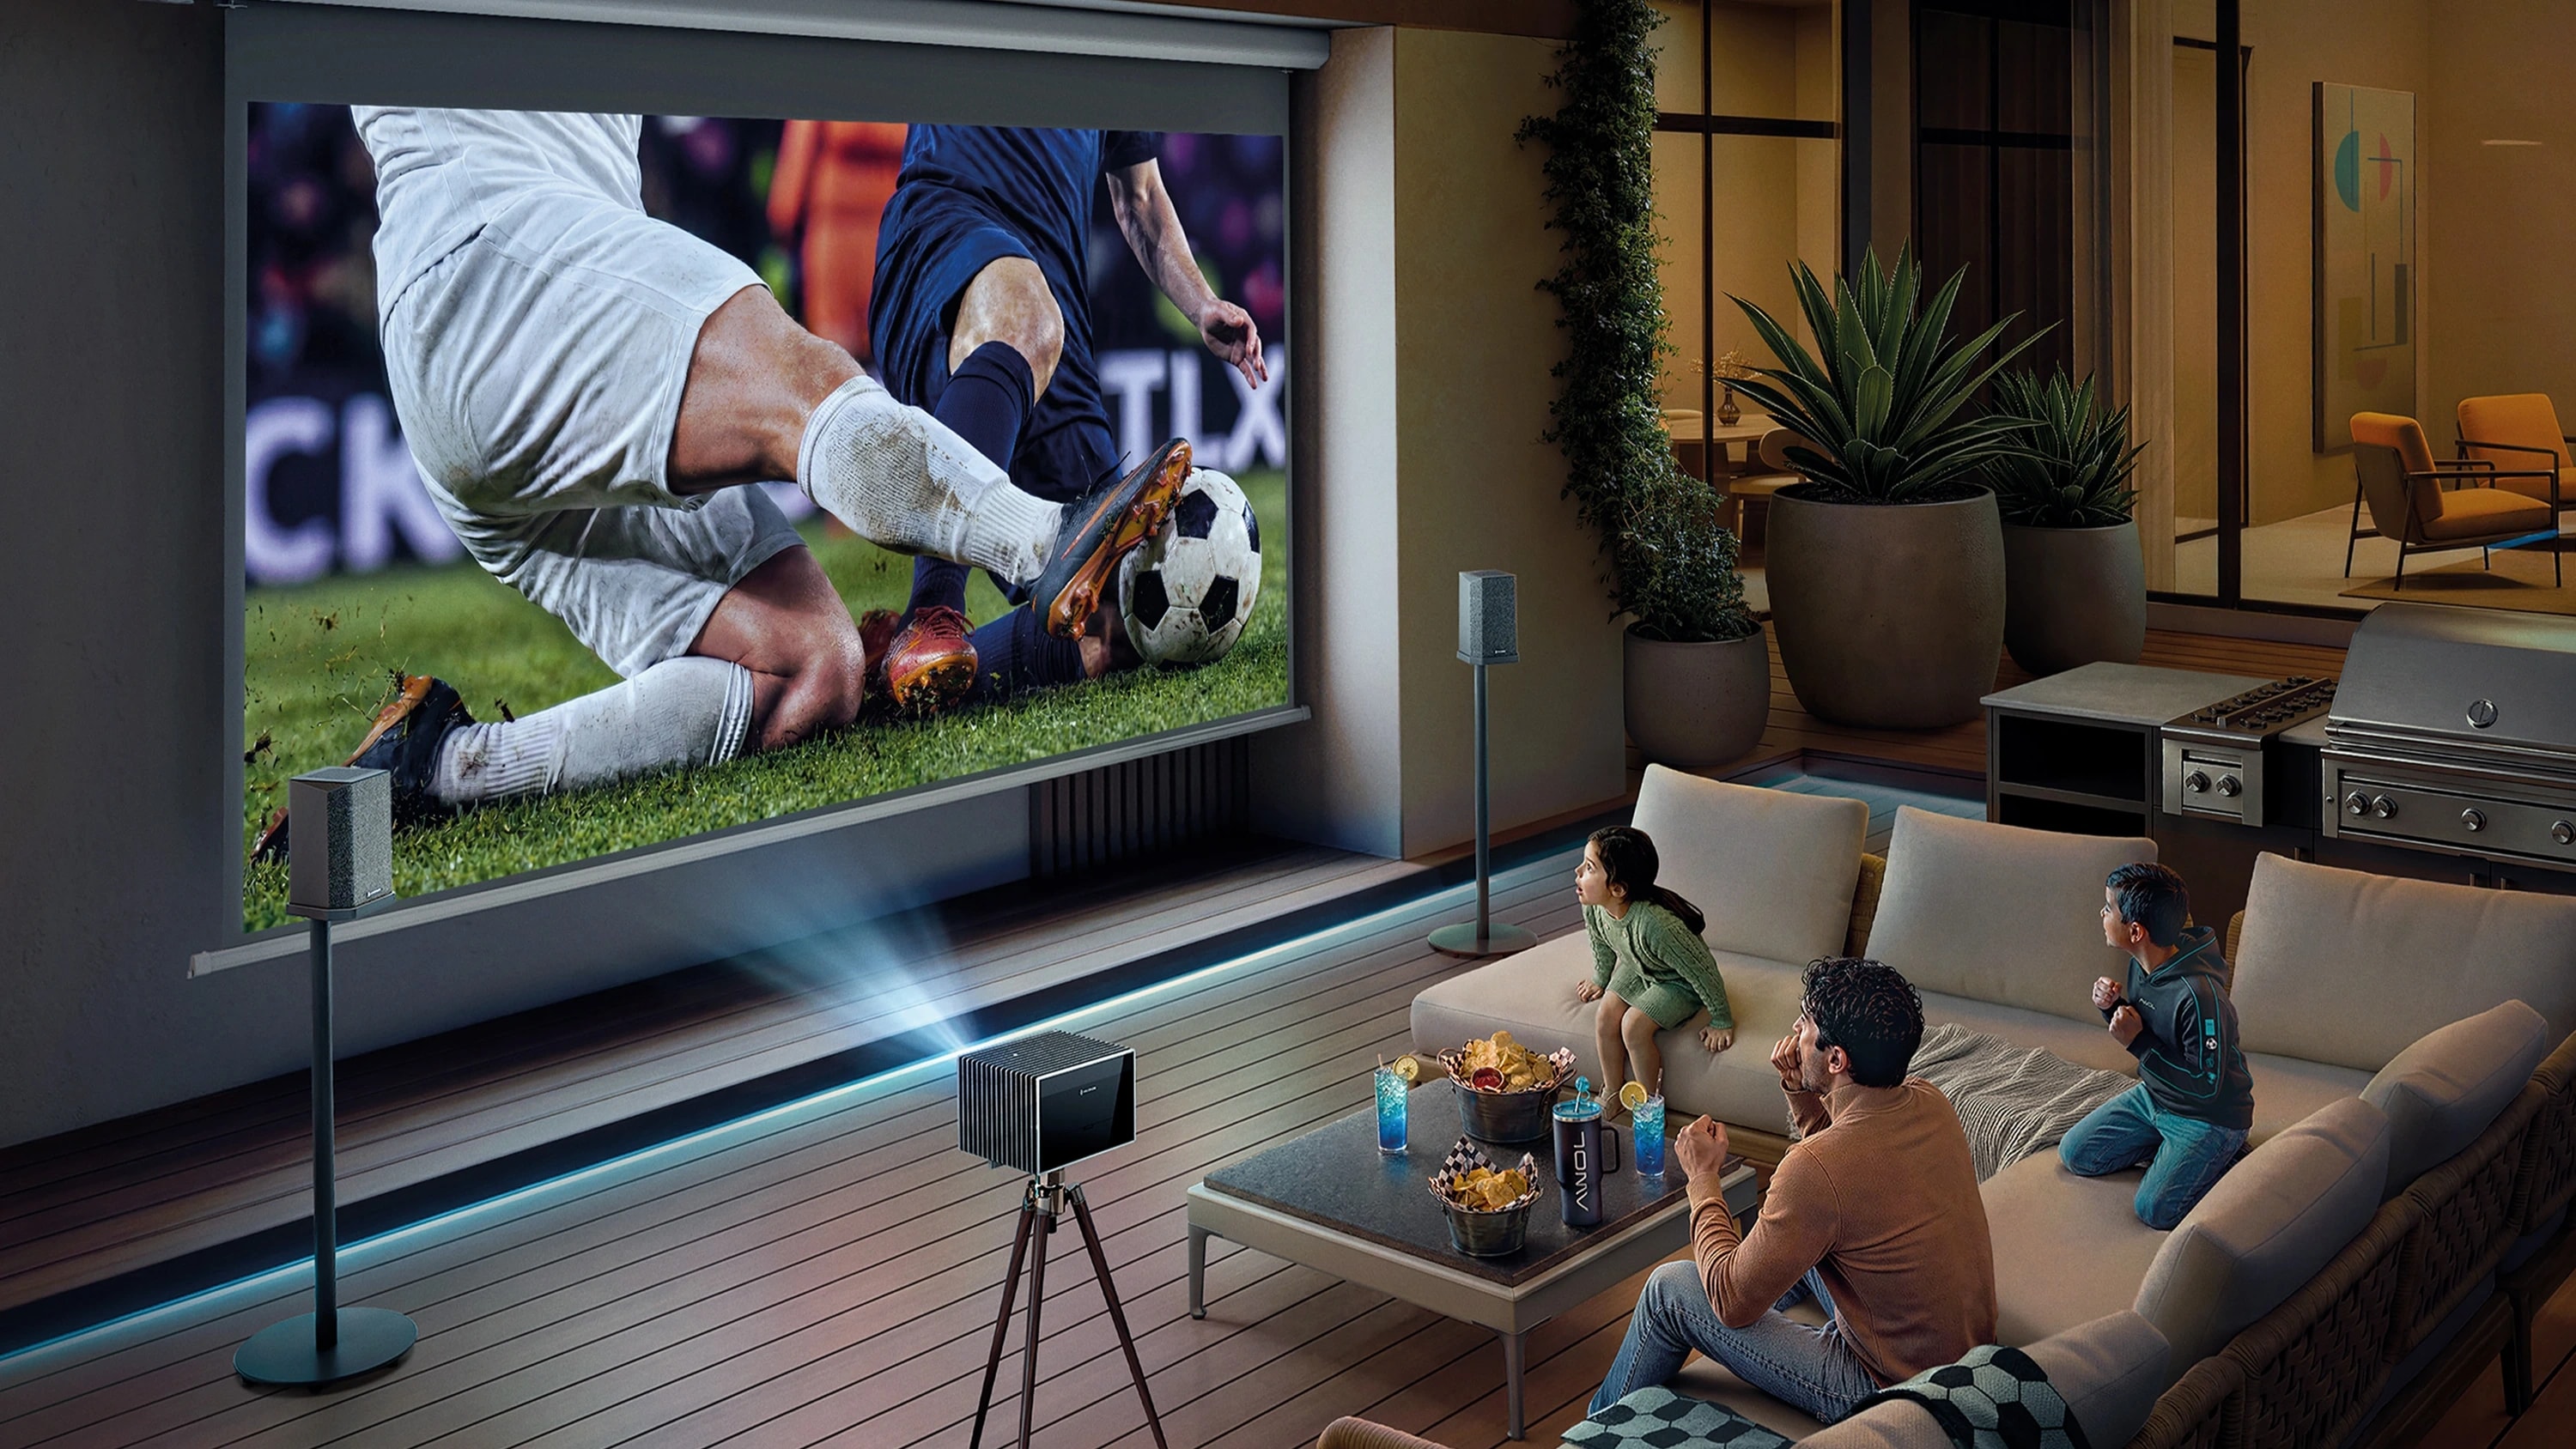
If the ceiling-mounted projector will mainly be used for live sports, installation flexibility is only part of the decision. Brightness and motion handling also matter; see our guide to the best projector for watching sports.
Which Mount Style Fits Your Room?
- Low-profile mounts work best when the required drop is short and you want the projector close to the ceiling. They look clean but may make cable access and maintenance tighter.
- Drop-pole mounts are useful when the ceiling is high or the lens needs to sit significantly below it. Adjustable poles provide more flexibility than fixed-length extensions.
- Universal projector ceiling mounts can make sense when compatibility across multiple projector models matters, but always verify the actual mounting interface and load limit.
- Adapter-based setups are most useful when an existing ceiling installation is structurally sound but a replacement projector uses a different attachment interface.
Before reusing an old mount, recheck weight, throw distance, lens position, center of gravity, adjustment range, and ventilation clearance. A matching screw pattern alone does not guarantee that the old installation will work for the new projector.
Long-Term Reliability, Cooling, and Cables
If you expect a projector to remain permanently ceiling-mounted for two years or longer, the installation should still be easy to inspect and service.
Ceiling mounting itself does not determine projector lifespan. The factors you can control include:
- secure structural attachment;
- unobstructed cooling airflow;
- suitable operating conditions;
- cables that do not pull on the projector;
- access for cleaning and maintenance.
Our guide to how long projectors last covers projector lifespan in more detail.
Plan power and signal cables before final alignment. Leave enough service slack for adjustments without leaving heavy cable loops pulling on the projector.
For permanent HDMI runs, consider cable length and bandwidth before routing anything through the ceiling. Our guide to types of HDMI explains the main options.
After cabling, finish alignment in this order:
- Secure and level the mount.
- Confirm throw distance.
- Adjust optical zoom if available.
- Use lens shift where supported.
- Focus the image.
- Apply only as much keystone correction as necessary.
For the full installation process, see our step-by-step guide on how to mount a projector to the ceiling.
Quick Ceiling Projector Mount Checklist
Before ordering a mount, confirm:
- Target screen size
- Throw ratio and usable throw distance
- Projector weight
- Mounting interface
- Required lens height and mount drop
- Vertical and horizontal lens-shift capability
- Actual ceiling structure
- Mount and adapter load ratings
- Ventilation clearance
- Cable route
- Maintenance access
If one of those is still unknown, measure it before drilling.
Final Takeaway
Choosing a ceiling projector mount is less about finding the bracket with the most adjustment and more about understanding where the projector actually needs to be.
Start with screen size and throw distance. Then measure projector weight, mounting interface, required vertical drop, and ceiling structure.
For a permanent installation, also consider lens shift, cooling clearance, cable routing, and future maintenance access. The AWOL Valerion Max illustrates why these details matter: its ±105% vertical lens shift provides substantial vertical placement flexibility, but the lack of horizontal lens shift means left-to-right placement still needs to be planned carefully.
Get the physical position right first, use optical adjustments second, and reserve digital keystone correction for the small amount that remains.