How to Build a 4K Home Theater: A Step-by-Step Guide for Any Room
August 14, 2026
A home theater used to mean a dedicated, light-sealed room, acoustic paneling on every wall, and a five-figure budget. That's no longer the case. A genuinely cinematic 4K setup fits into a normal living room, a finished basement, or a weekend backyard movie night — as long as you make the big decisions in the right order. Here's how to do it, step by step.
1. Decide Between a TV and a Projector
Before anything else, settle the display question. A 4K TV is simple and bright, but the cost per inch climbs fast once you get past 75–85", and even the largest flat panel still reads as "a big screen in the room" rather than "a screen that fills the room." A projector flips that equation: it turns a blank wall into 100-plus inches of picture for a fraction of the cost, and it disappears into the ceiling or a cabinet when it's off instead of dominating the space.
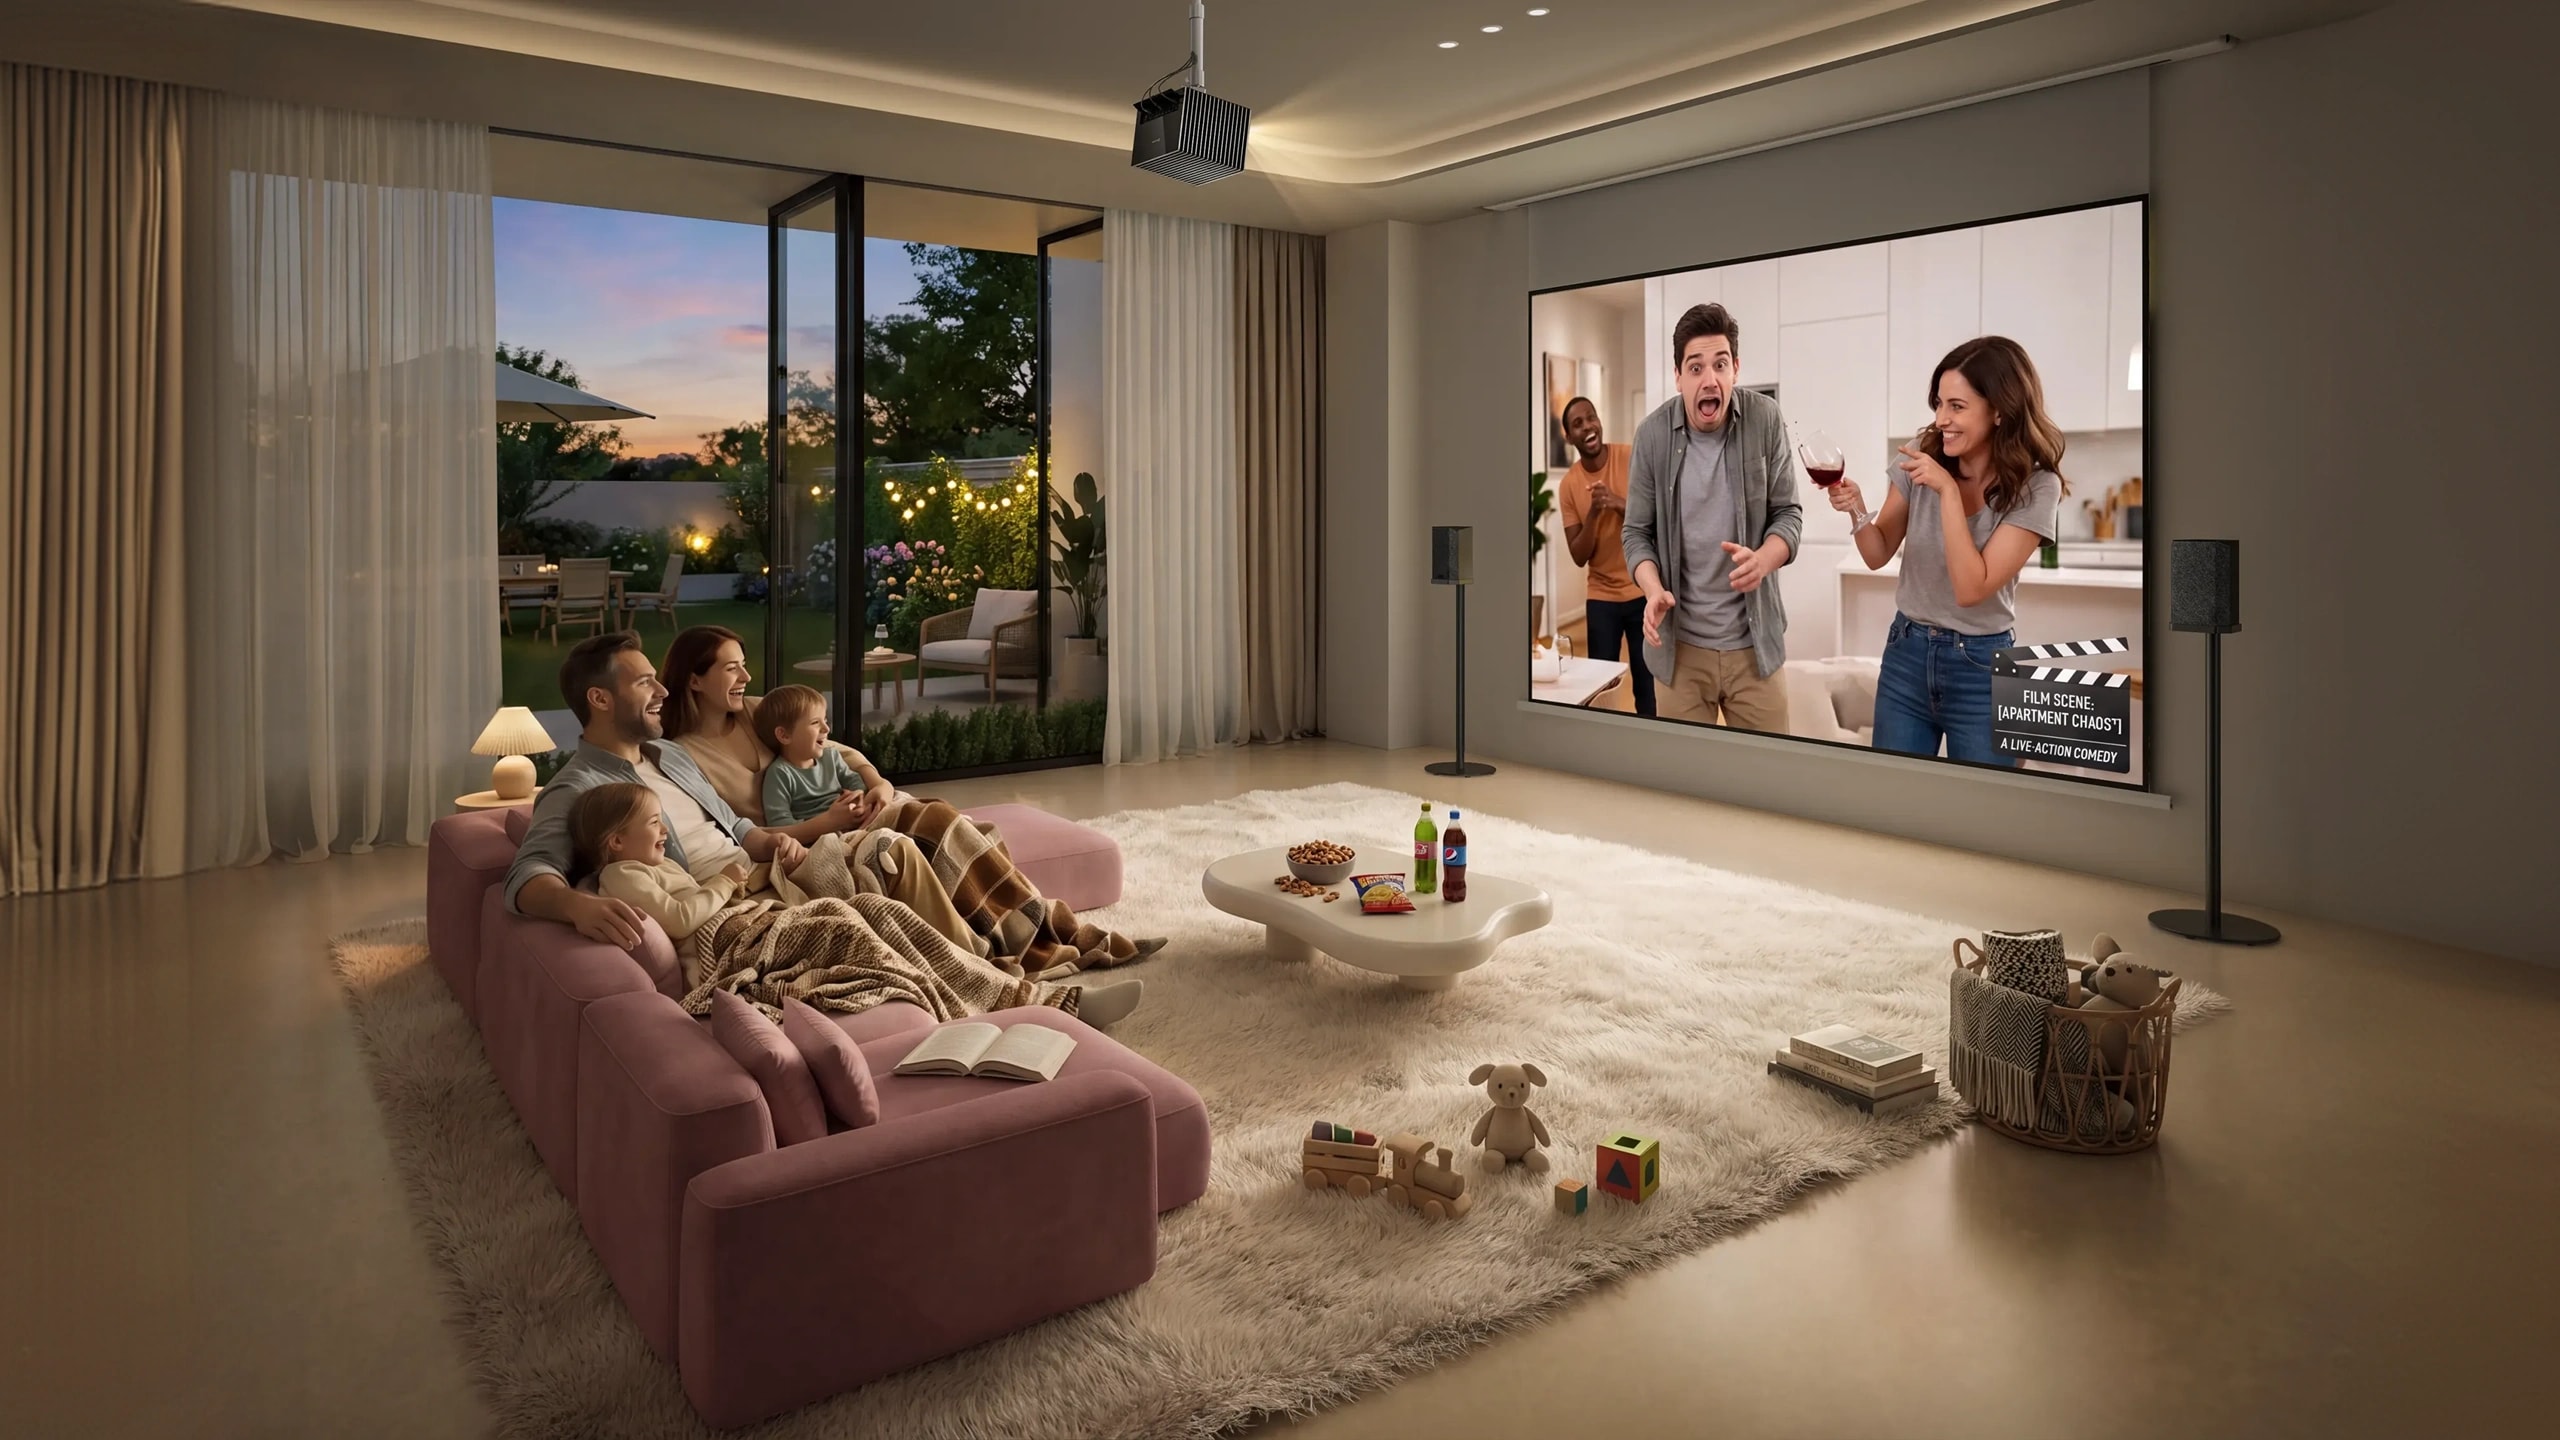
The old trade-off was that projectors needed a dark, dedicated room and a lot of manual fiddling to look right. That's changed. Modern 4K projectors are bright and smart enough to work in a room that does double duty as a living room, playroom, or home office — which is the setup most people are actually building for.
2. Choose a Projector Built for Your Room, Not a Lab
This is the step that makes or breaks the whole project. The spec that matters most isn't peak brightness or a headline resolution number on a box — it's whether the projector actually looks great and sets up easily in the room you already have, with the furniture, ambient light, and wall you're not about to remodel.
This is the gap AWOL Valerion's flagship tri-laser projector, the AWOL Valerion Max, is built to close. Instead of the single laser-plus-phosphor light source found in many budget laser projectors, it uses three individual RGB lasers, which is how it hits 3,500 ISO lumens of brightness alongside 110% coverage of the Rec.2020 color space — the wide color gamut modern HDR content is actually mastered in. Out of the box, it ships in an ISF-certified calibration mode, so color and gamma are close to reference-accurate before you've touched a single setting, with full manual calibration available for anyone who wants to fine-tune further.
A few other things worth knowing about it:
- Auto everything on setup. The lens is fully motorized — autofocus, auto zoom, and ±105% vertical lens shift — and the projector reads and corrects its own geometry the moment it powers on, then re-levels itself again if you nudge or relocate the unit later. No stepladder, no eyeballing keystone correction.
- Flexible placement. A 0.9–1.5:1 throw ratio lets it produce anywhere from a 40" image in a tight apartment to a 300" wall-filling picture in a larger room.
- Real black levels. Single-chip DLP projectors have historically struggled with blacks that read as dark gray instead of true black. AWOL Valerion's NoirScene Engine pairs an AI-driven Enhanced Black Level system with a six-blade iris to hit a 50,000:1 dynamic contrast ratio, plus anti-rainbow-effect and speckle-reduction processing for anyone sensitive to DLP artifacts.
- Format support that matches real movies. HDR10, HDR10+, Dolby Vision, HLG, and IMAX Enhanced are all supported, so the image is tuned for how films are actually mastered, not just for a spec sheet.
It also runs Google TV out of the box, with AirPlay, Chromecast, and smart-home support for Alexa, Google Home, and Apple HomeKit — fewer boxes, fewer remotes, less cabling for anyone who isn't trying to build a full enthusiast rack. And at 4ms of input lag at 1080p/240Hz, it's a genuinely capable gaming display too, so the room doesn't have to choose between movie nights and game nights.
3. Pick the Right Screen — or the Right Wall
A dedicated projector screen isn't strictly required, but it makes a bigger difference than most people expect. A fixed-frame or motorized screen gives you a flat, properly reflective surface, which matters most at the edges of a large image, and an ambient-light-rejecting (ALR) screen is worth the upgrade if your room can't be fully darkened. If you're projecting onto a wall instead, a matte, neutral-gray projector paint will hold contrast better than plain white.
For sizing, a common rule of thumb is to sit no farther than about 1 to 1.5 times the screen's width away — close enough that the picture fills your field of view, which is the giant-screen feeling a good projector is built to deliver in the first place.
4. Build Real Movie-Theater Sound
Picture only gets you halfway there; sound is what makes a room feel like a theater instead of a big TV. A soundbar with virtual surround or Dolby Atmos up-firing channels is a solid, low-effort entry point, and plenty of projectors — the AWOL Valerion Max included — have integrated speakers that are genuinely fine for casual, background viewing.
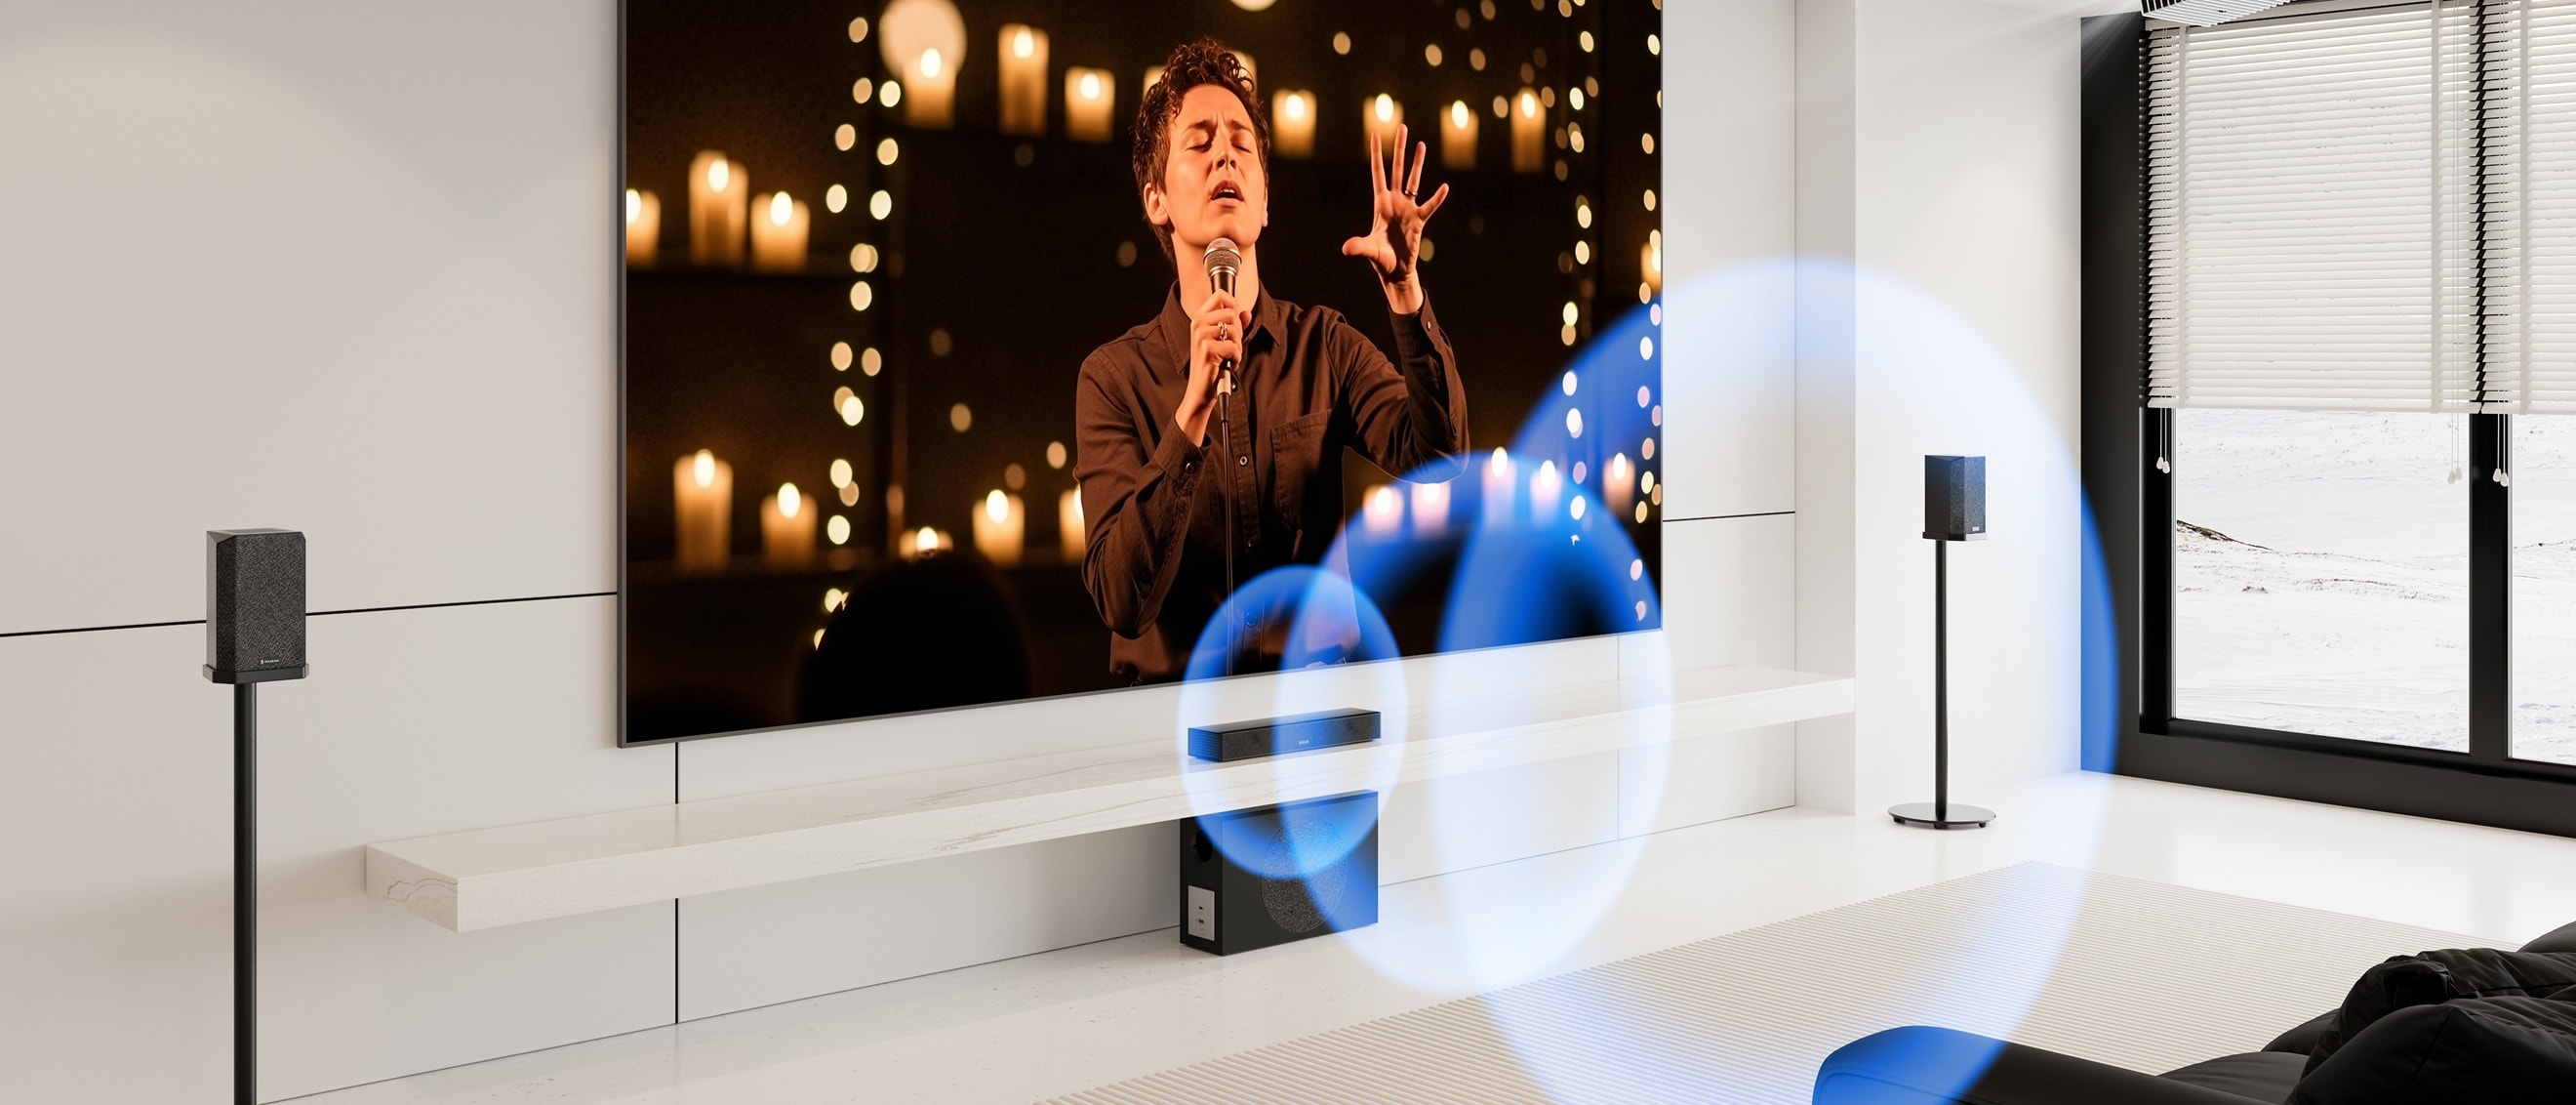
But if you want the chest-thump of a real subwoofer and accurate surround imaging for movie night, plan for a proper AV receiver and a 5.1 or 7.1.4 speaker layout: front left, center, and right at ear height, surrounds beside or slightly behind the seating, and a subwoofer placed wherever the bass sounds most even across the room.
5. Control the Room's Light and Color
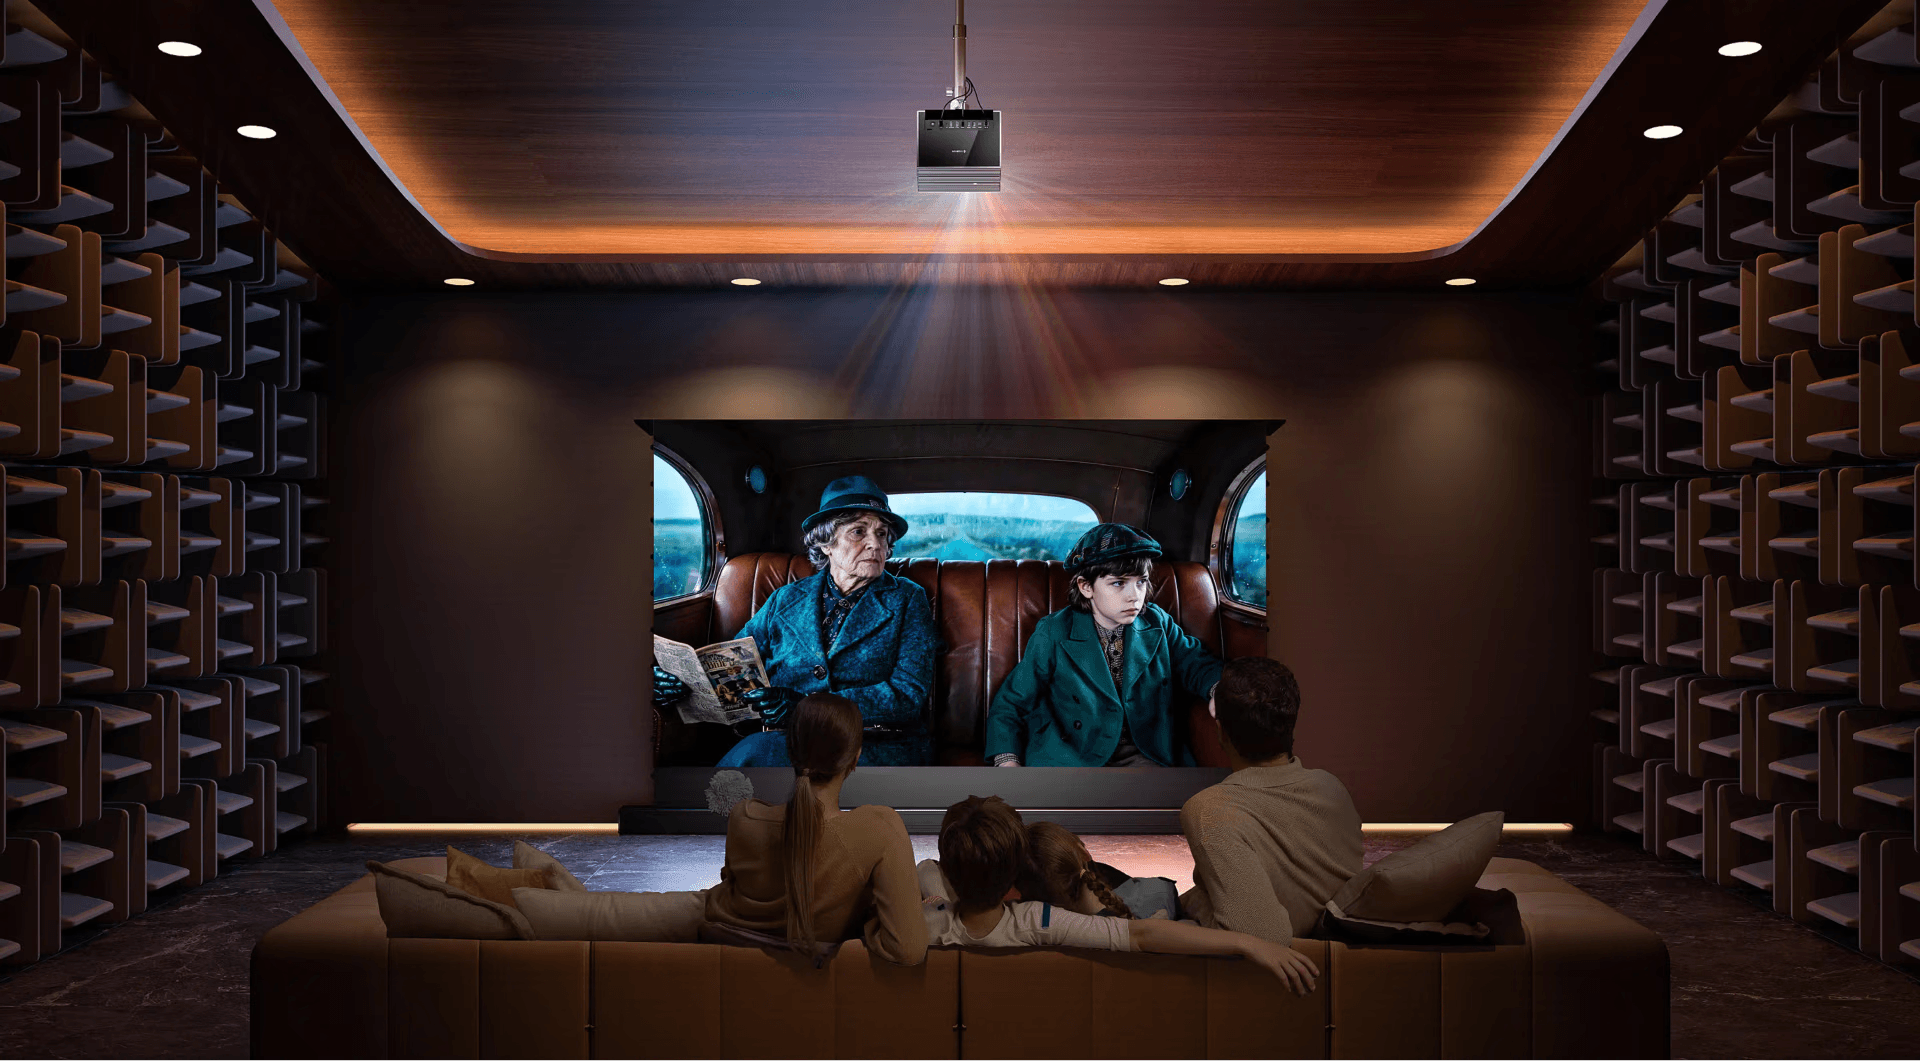
Light control matters more for a projector-based theater than it ever does for a TV. Blackout curtains or cellular shades on windows, a matte rather than glossy wall and ceiling finish, and darker wall colors all cut down on light bounce and boost perceived contrast. This is also where a brighter, laser-based projector pays off in everyday use: a 3,500-lumen engine gives you room to watch during the day or with a lamp on, instead of forcing total blackout for every single movie night.
6. Wire Up Your Sources
Decide what's actually feeding the picture: a dedicated 4K streaming box, a next-gen console for gaming, or a smart platform built into the projector itself. If your projector already runs Google TV or something similar, you may not need a separate streaming box at all — one less device, one less remote, one less HDMI run to hide. For anything you do add, use HDMI 2.1-rated cables to get full 4K/120Hz and VRR pass-through, and plan your cable routing — through the wall or along the ceiling — before you commit to furniture placement.
7. Calibrate, Update, and Maintain
Get a proper first calibration — an ISF preset mode is a great starting point, and a full professional calibration is worth it for a dedicated theater room. After that, don't treat the projector as a finished, static product. Laser light engines skip the bulb replacements older lamp-based projectors needed, and manufacturers keep shipping firmware updates that improve picture quality over time.
In August, AWOL Valerion introduced a new Dynamic Iris mode exclusive to the AWOL Valerion Max, bringing meaningful contrast improvements to existing hardware without requiring a new purchase. Checking for updates every few months and occasionally dusting the intake vents can also help keep your projector performing like it did on day one.
Putting It All Together
None of these seven steps is complicated on its own. The part that actually takes planning is making them work together in the room you have, not the room a showroom is built to flatter. Start with a display that's genuinely easy to live with — a projector like the AWOL Valerion Max performs like a flagship on the spec sheet and sets up like a much simpler device once it's actually in your living room, which is really the "tuned for real movies, ready for real homes" idea in a sentence.
Get the screen and light control right, layer in real sound, and the rest falls into place. That's the difference between a home theater on paper and one you'll actually use every week.
Discover More Insights